Loaded Smashed Potato

The Perfect Side

There’s always the question, “What side goes with…?”  Whether it’s Beef, Chicken, Fish or Pork you really can’t go wrong with potatoes…at least not in my family. We love Loaded Baked Potatoes and Cheesy Smashed Potatoes, so I decided to make Loaded Smash Potatoes.  It’s pretty easy to make and your family will love it and you. 

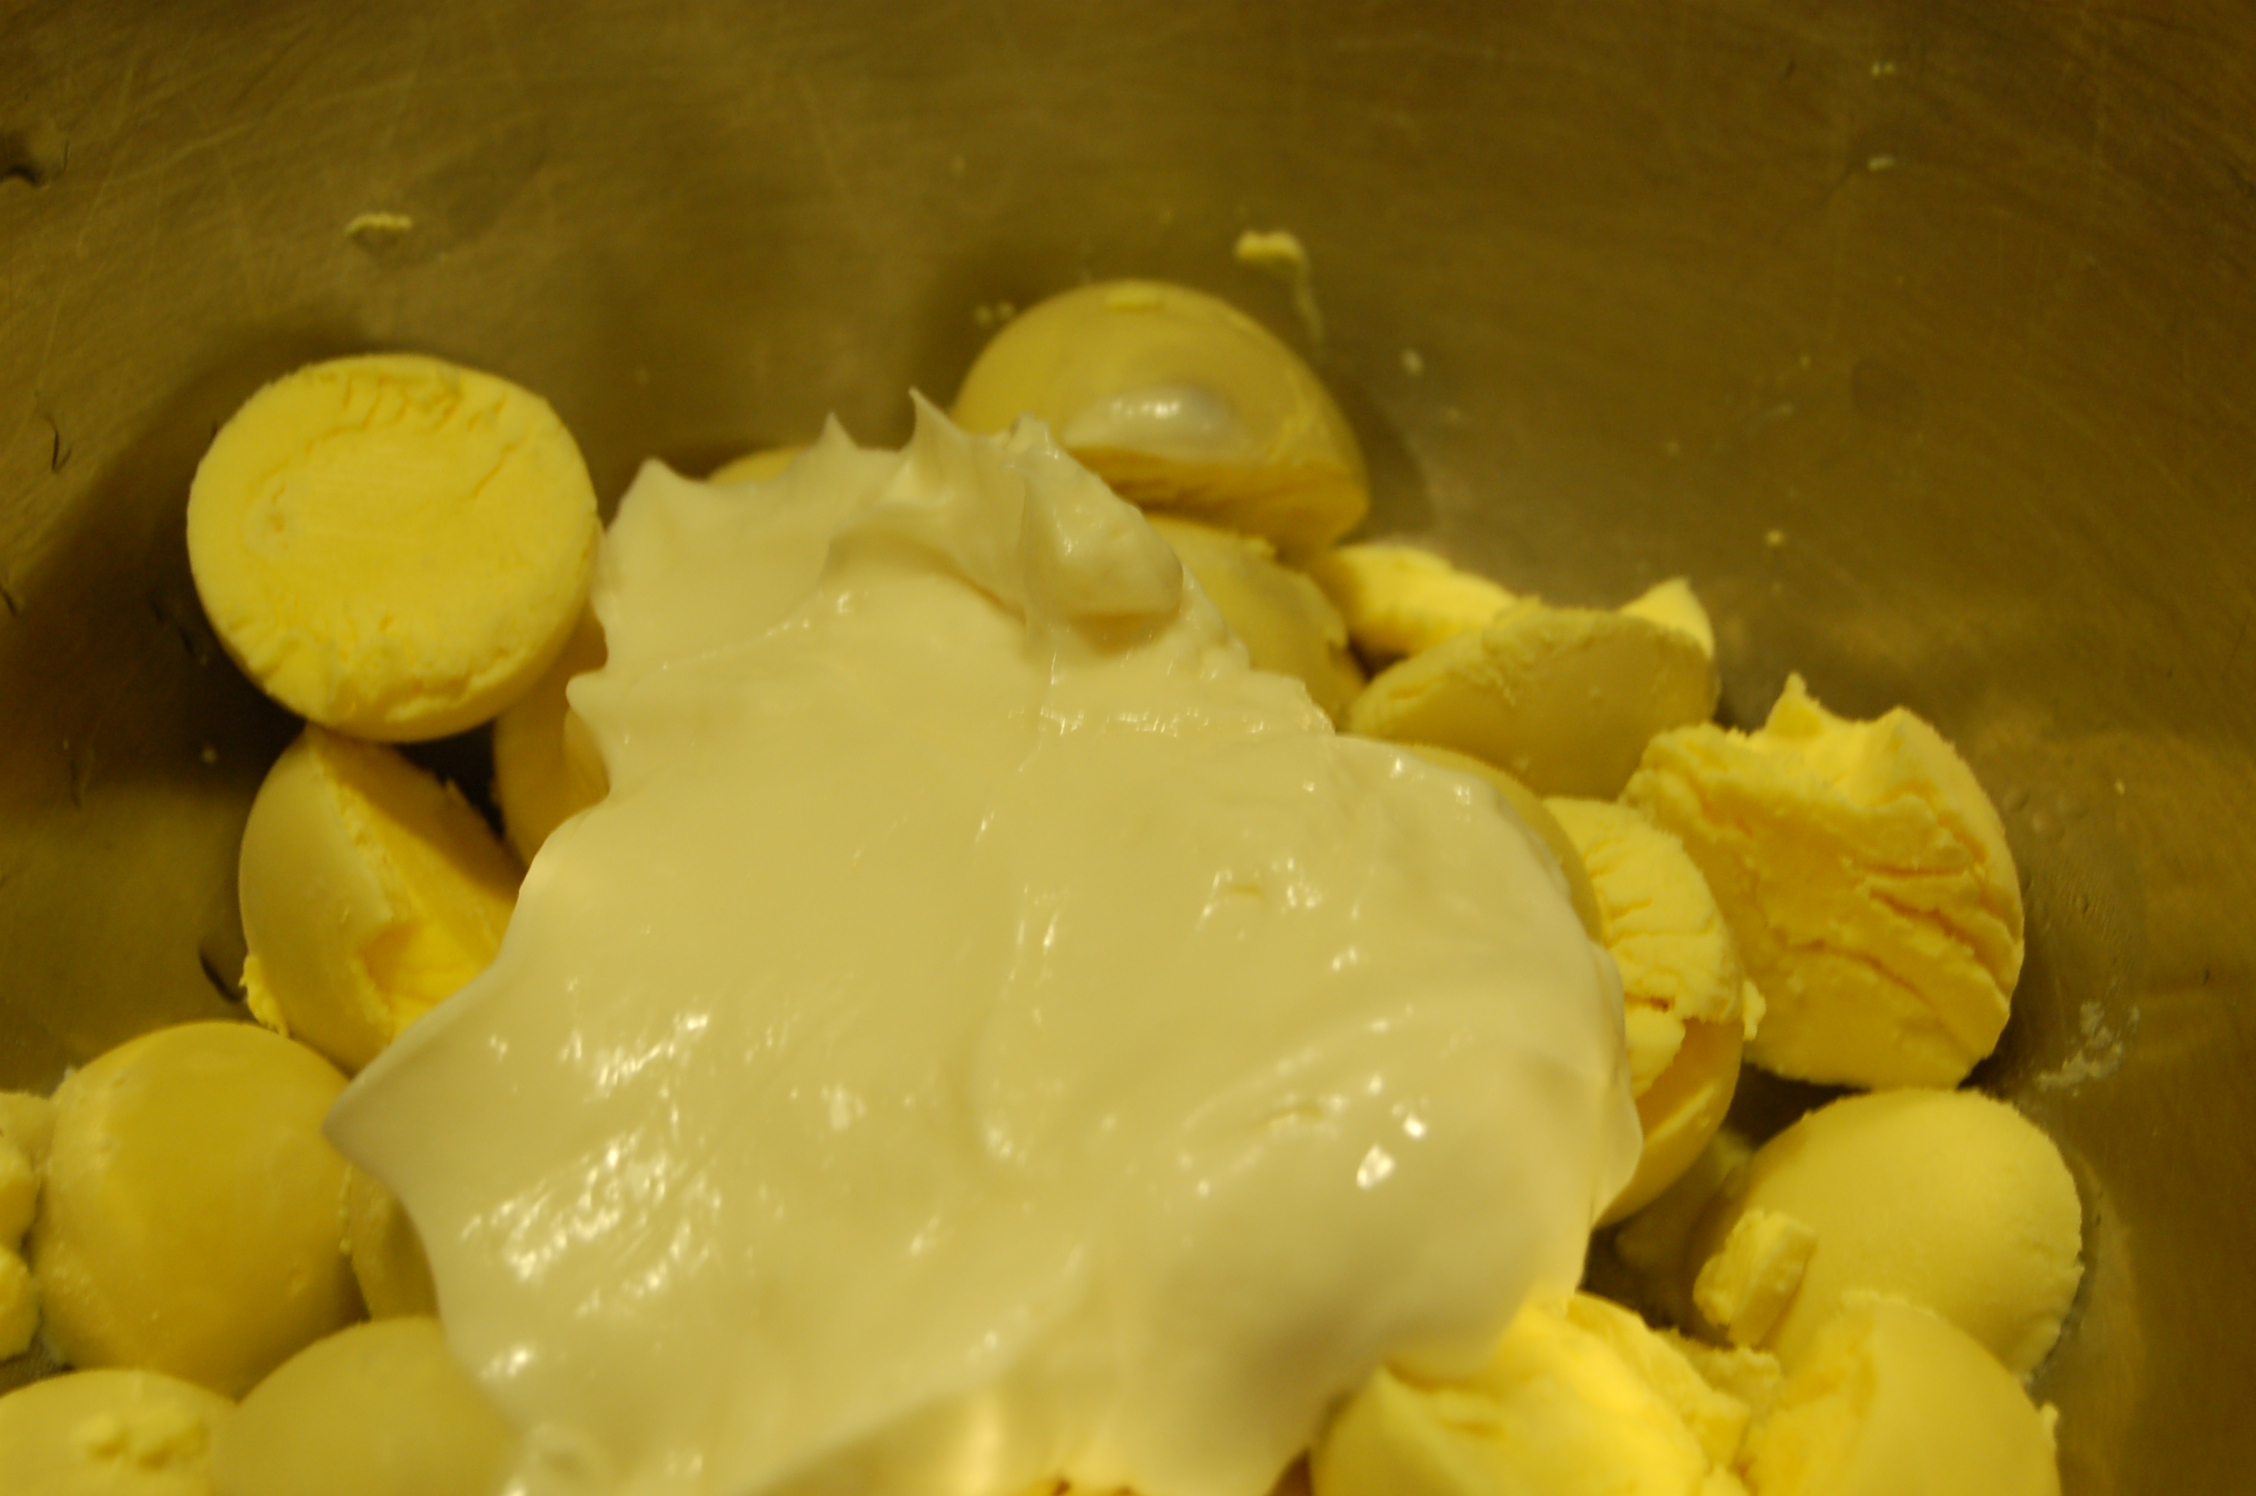
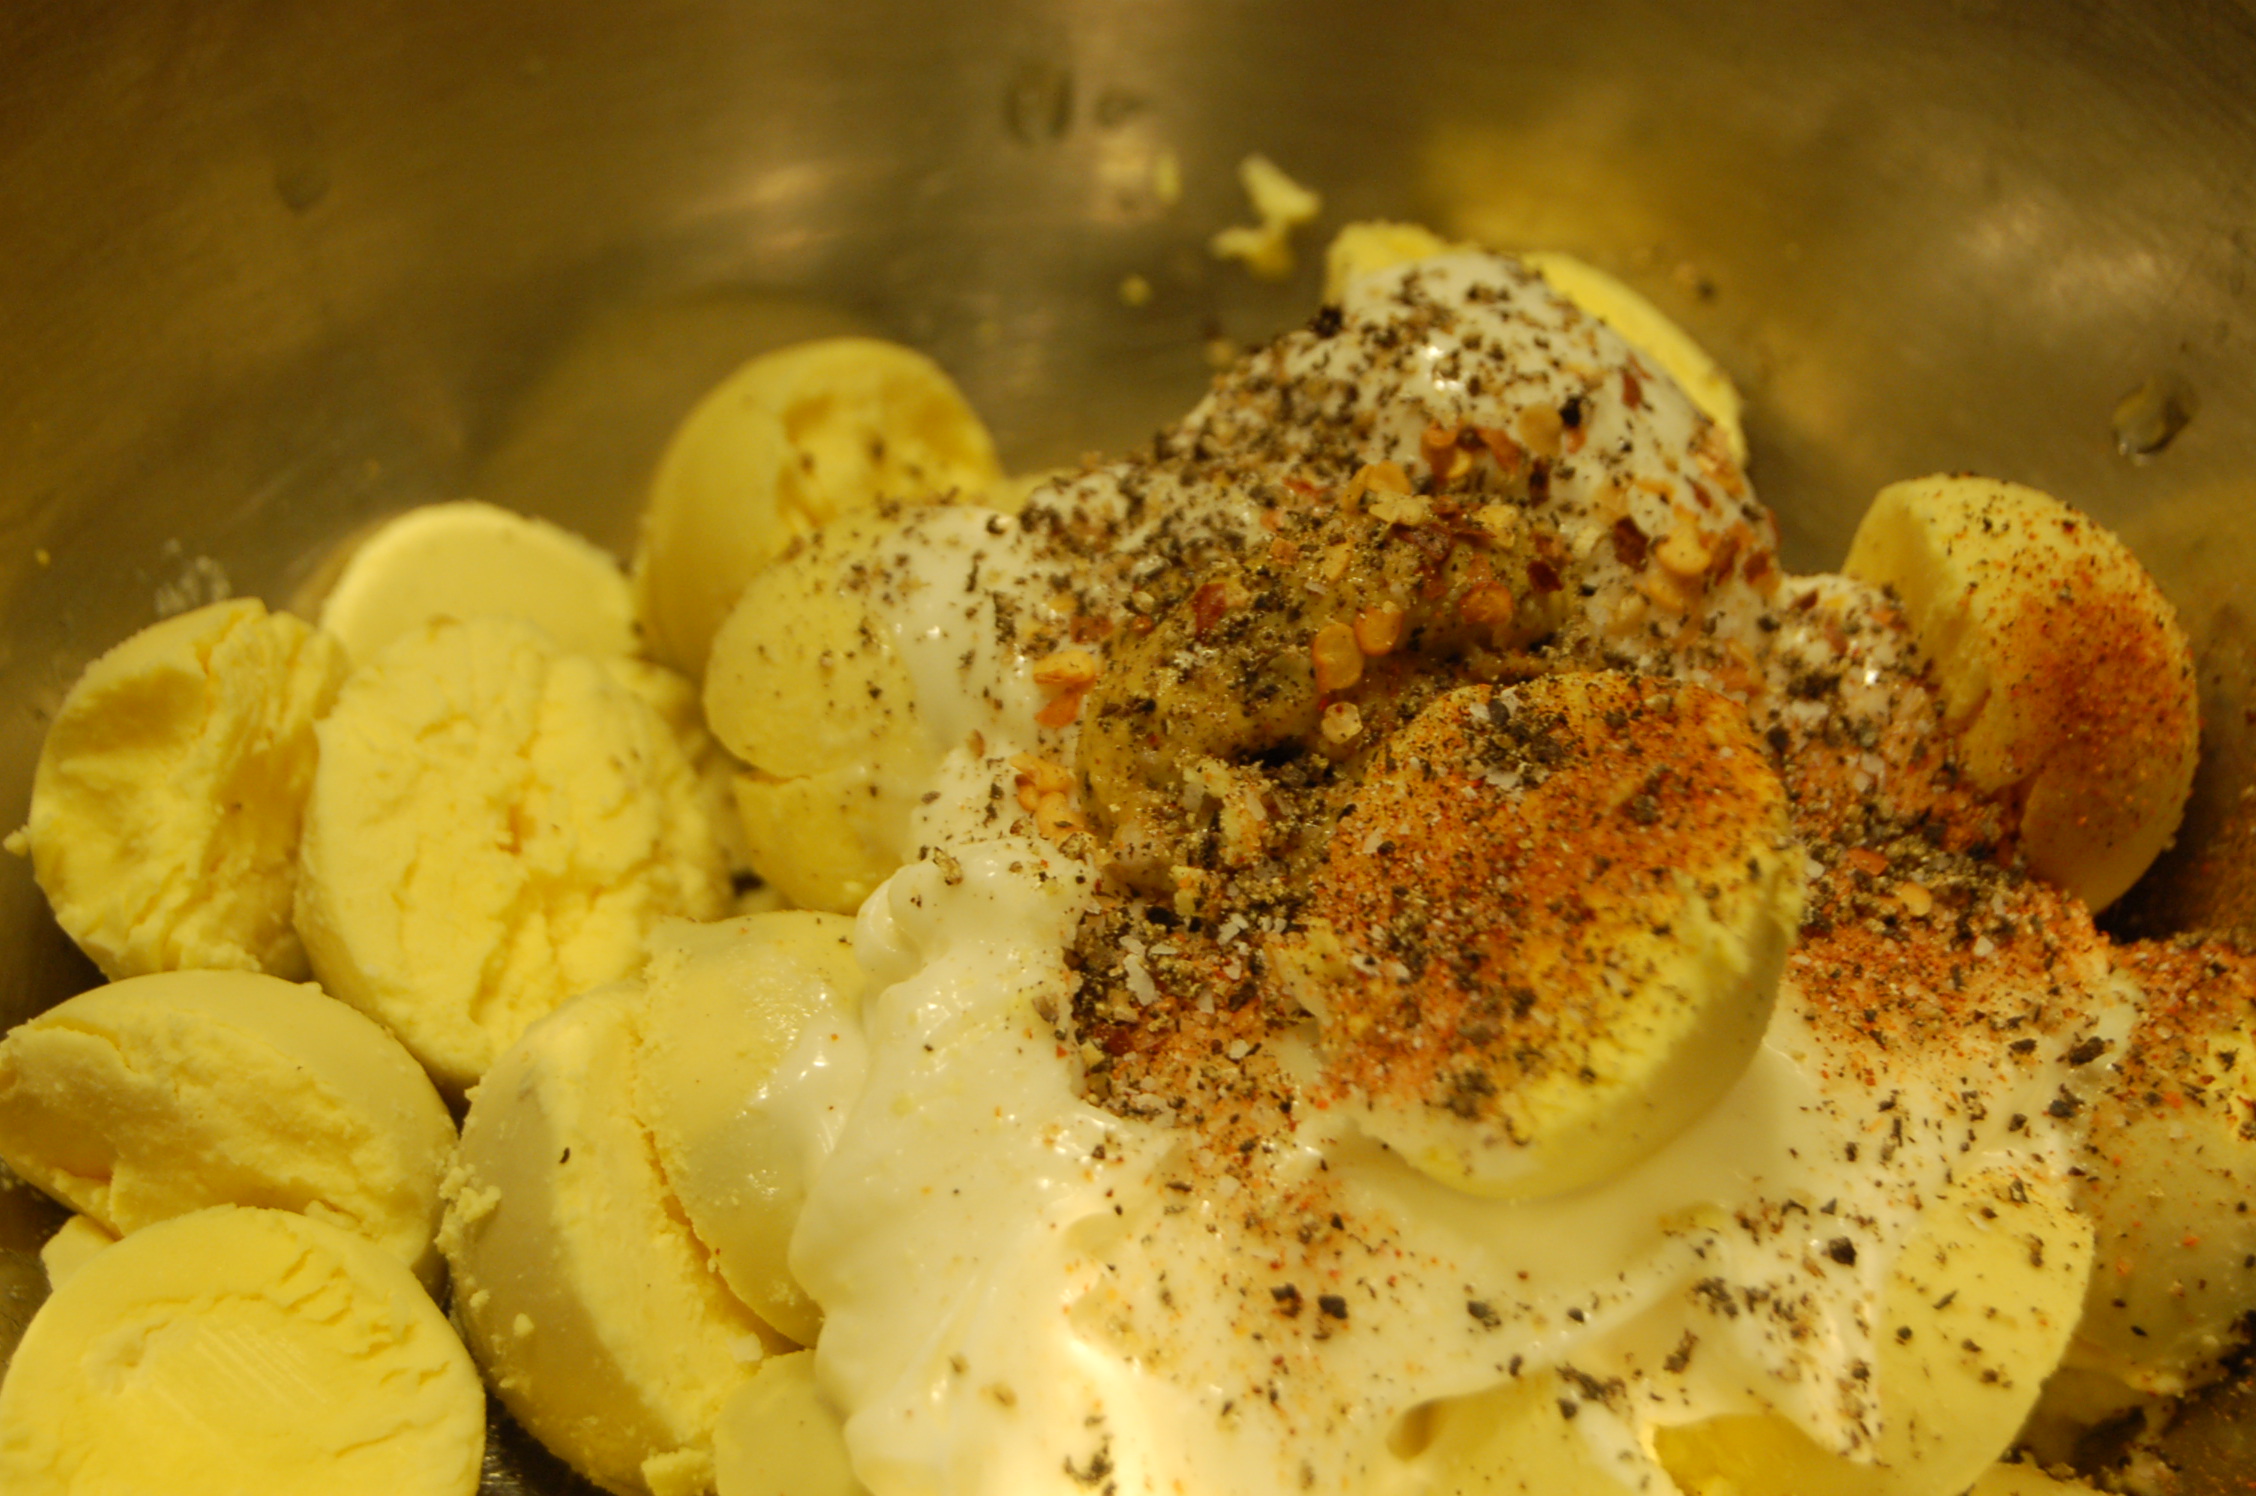
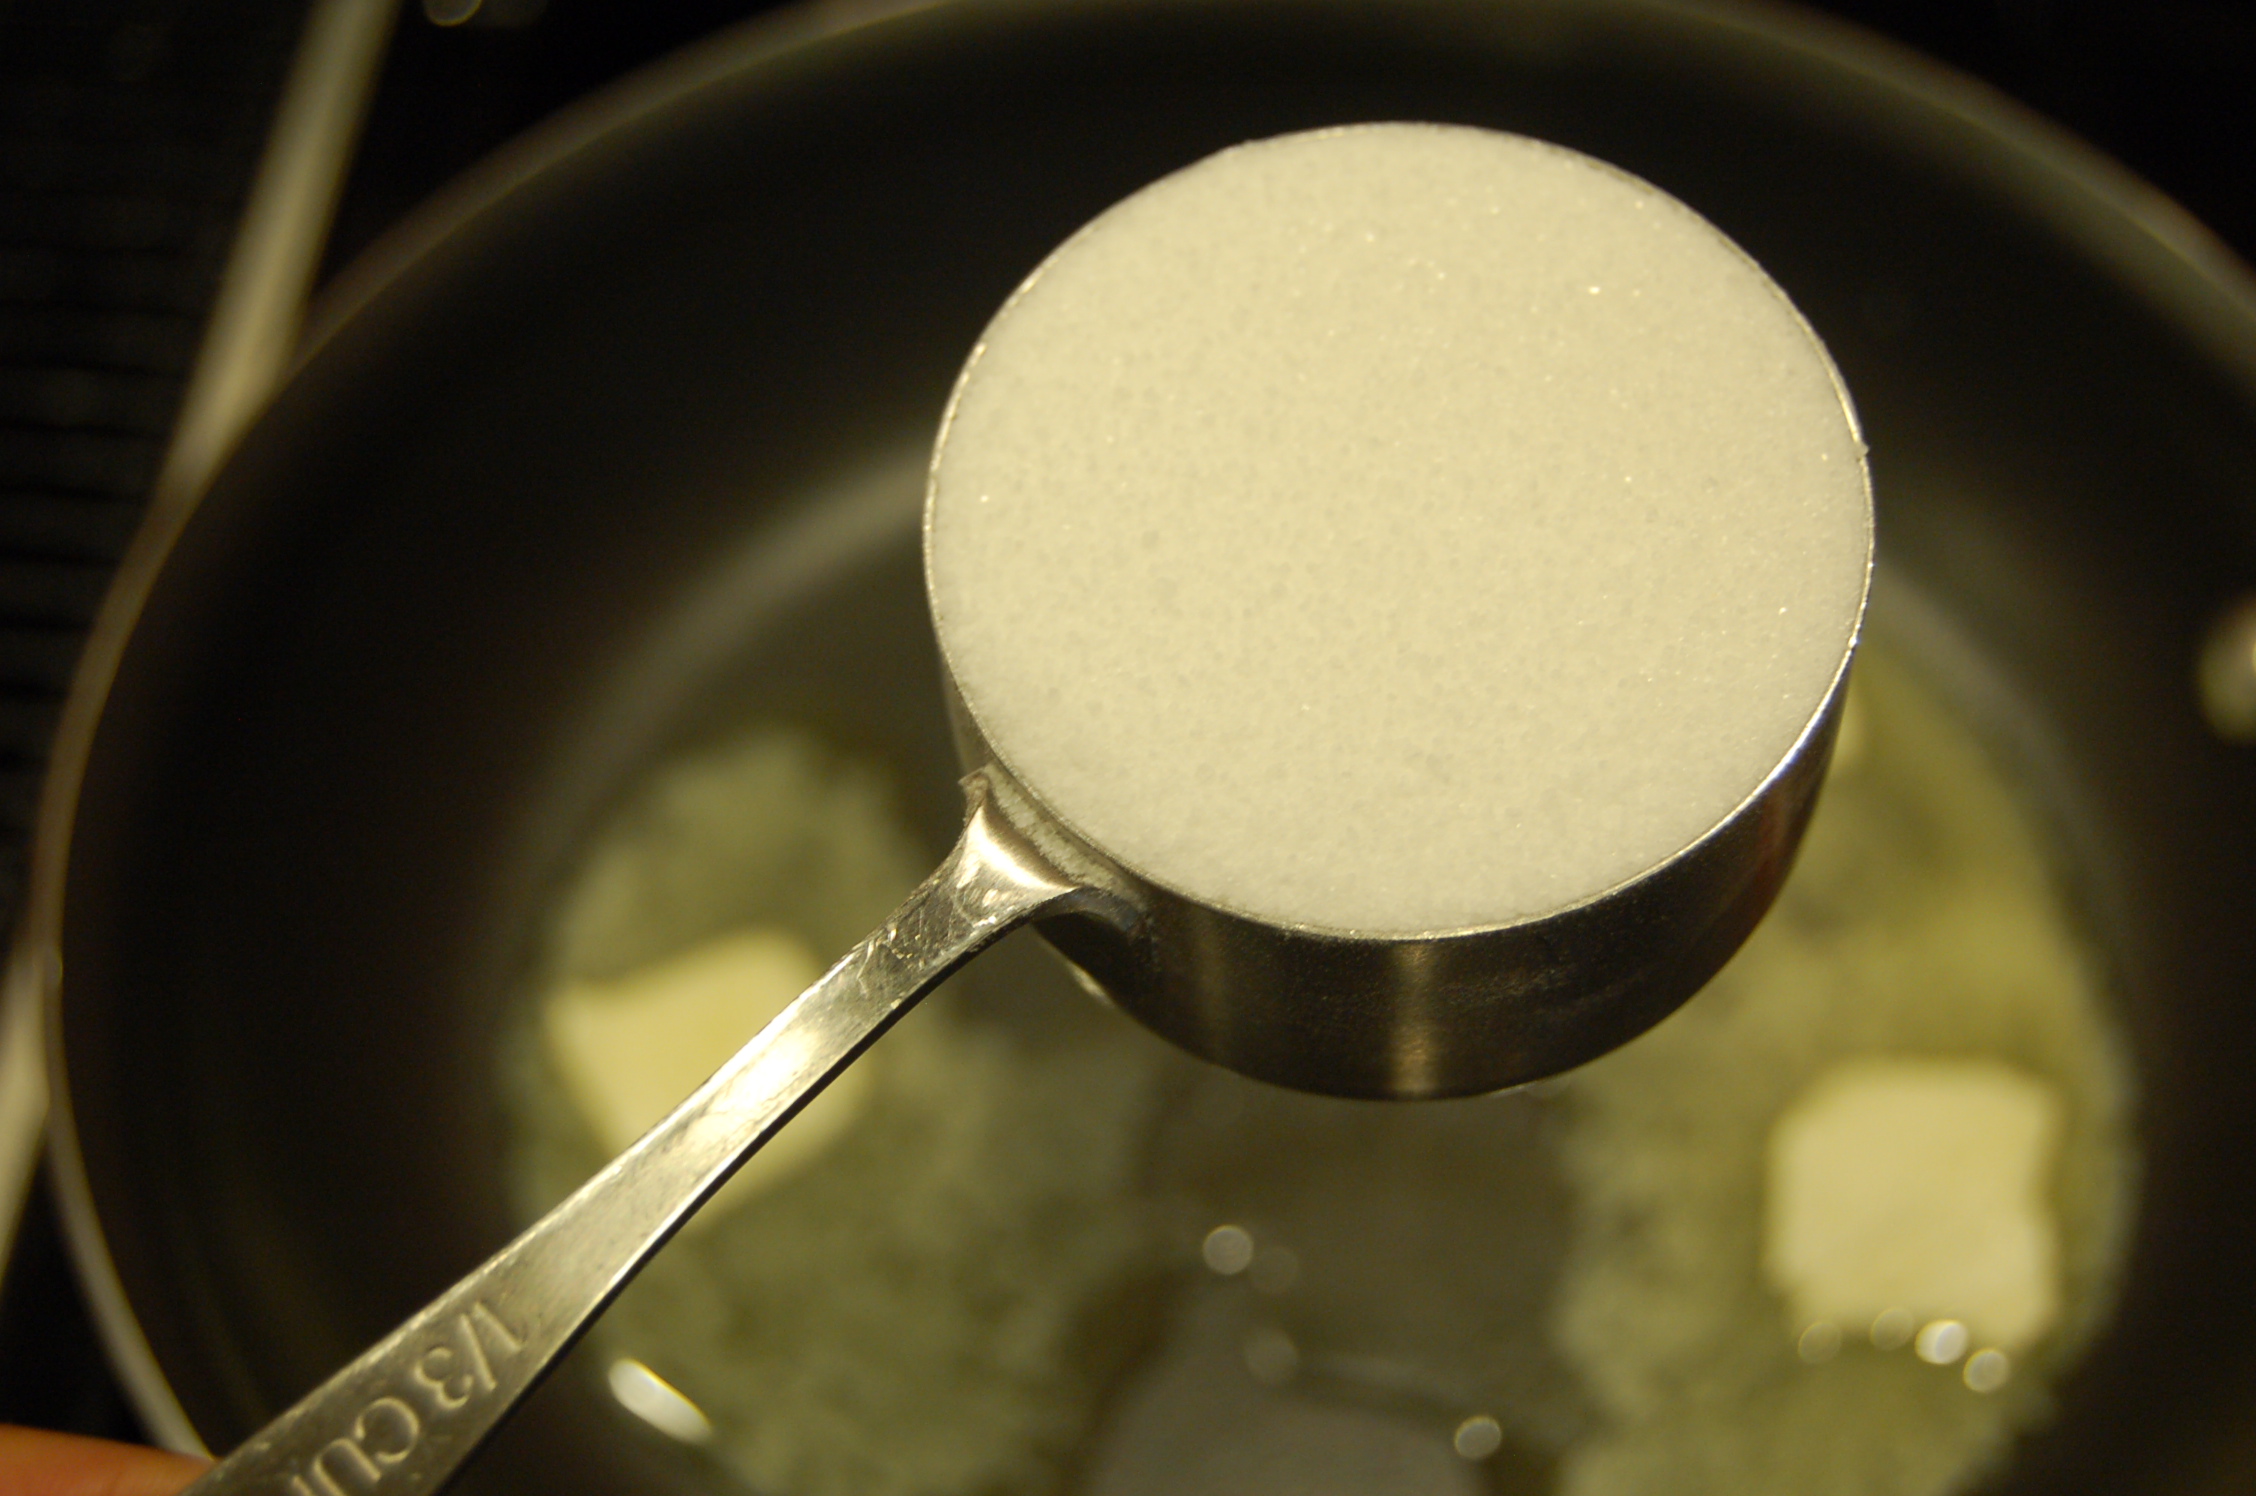
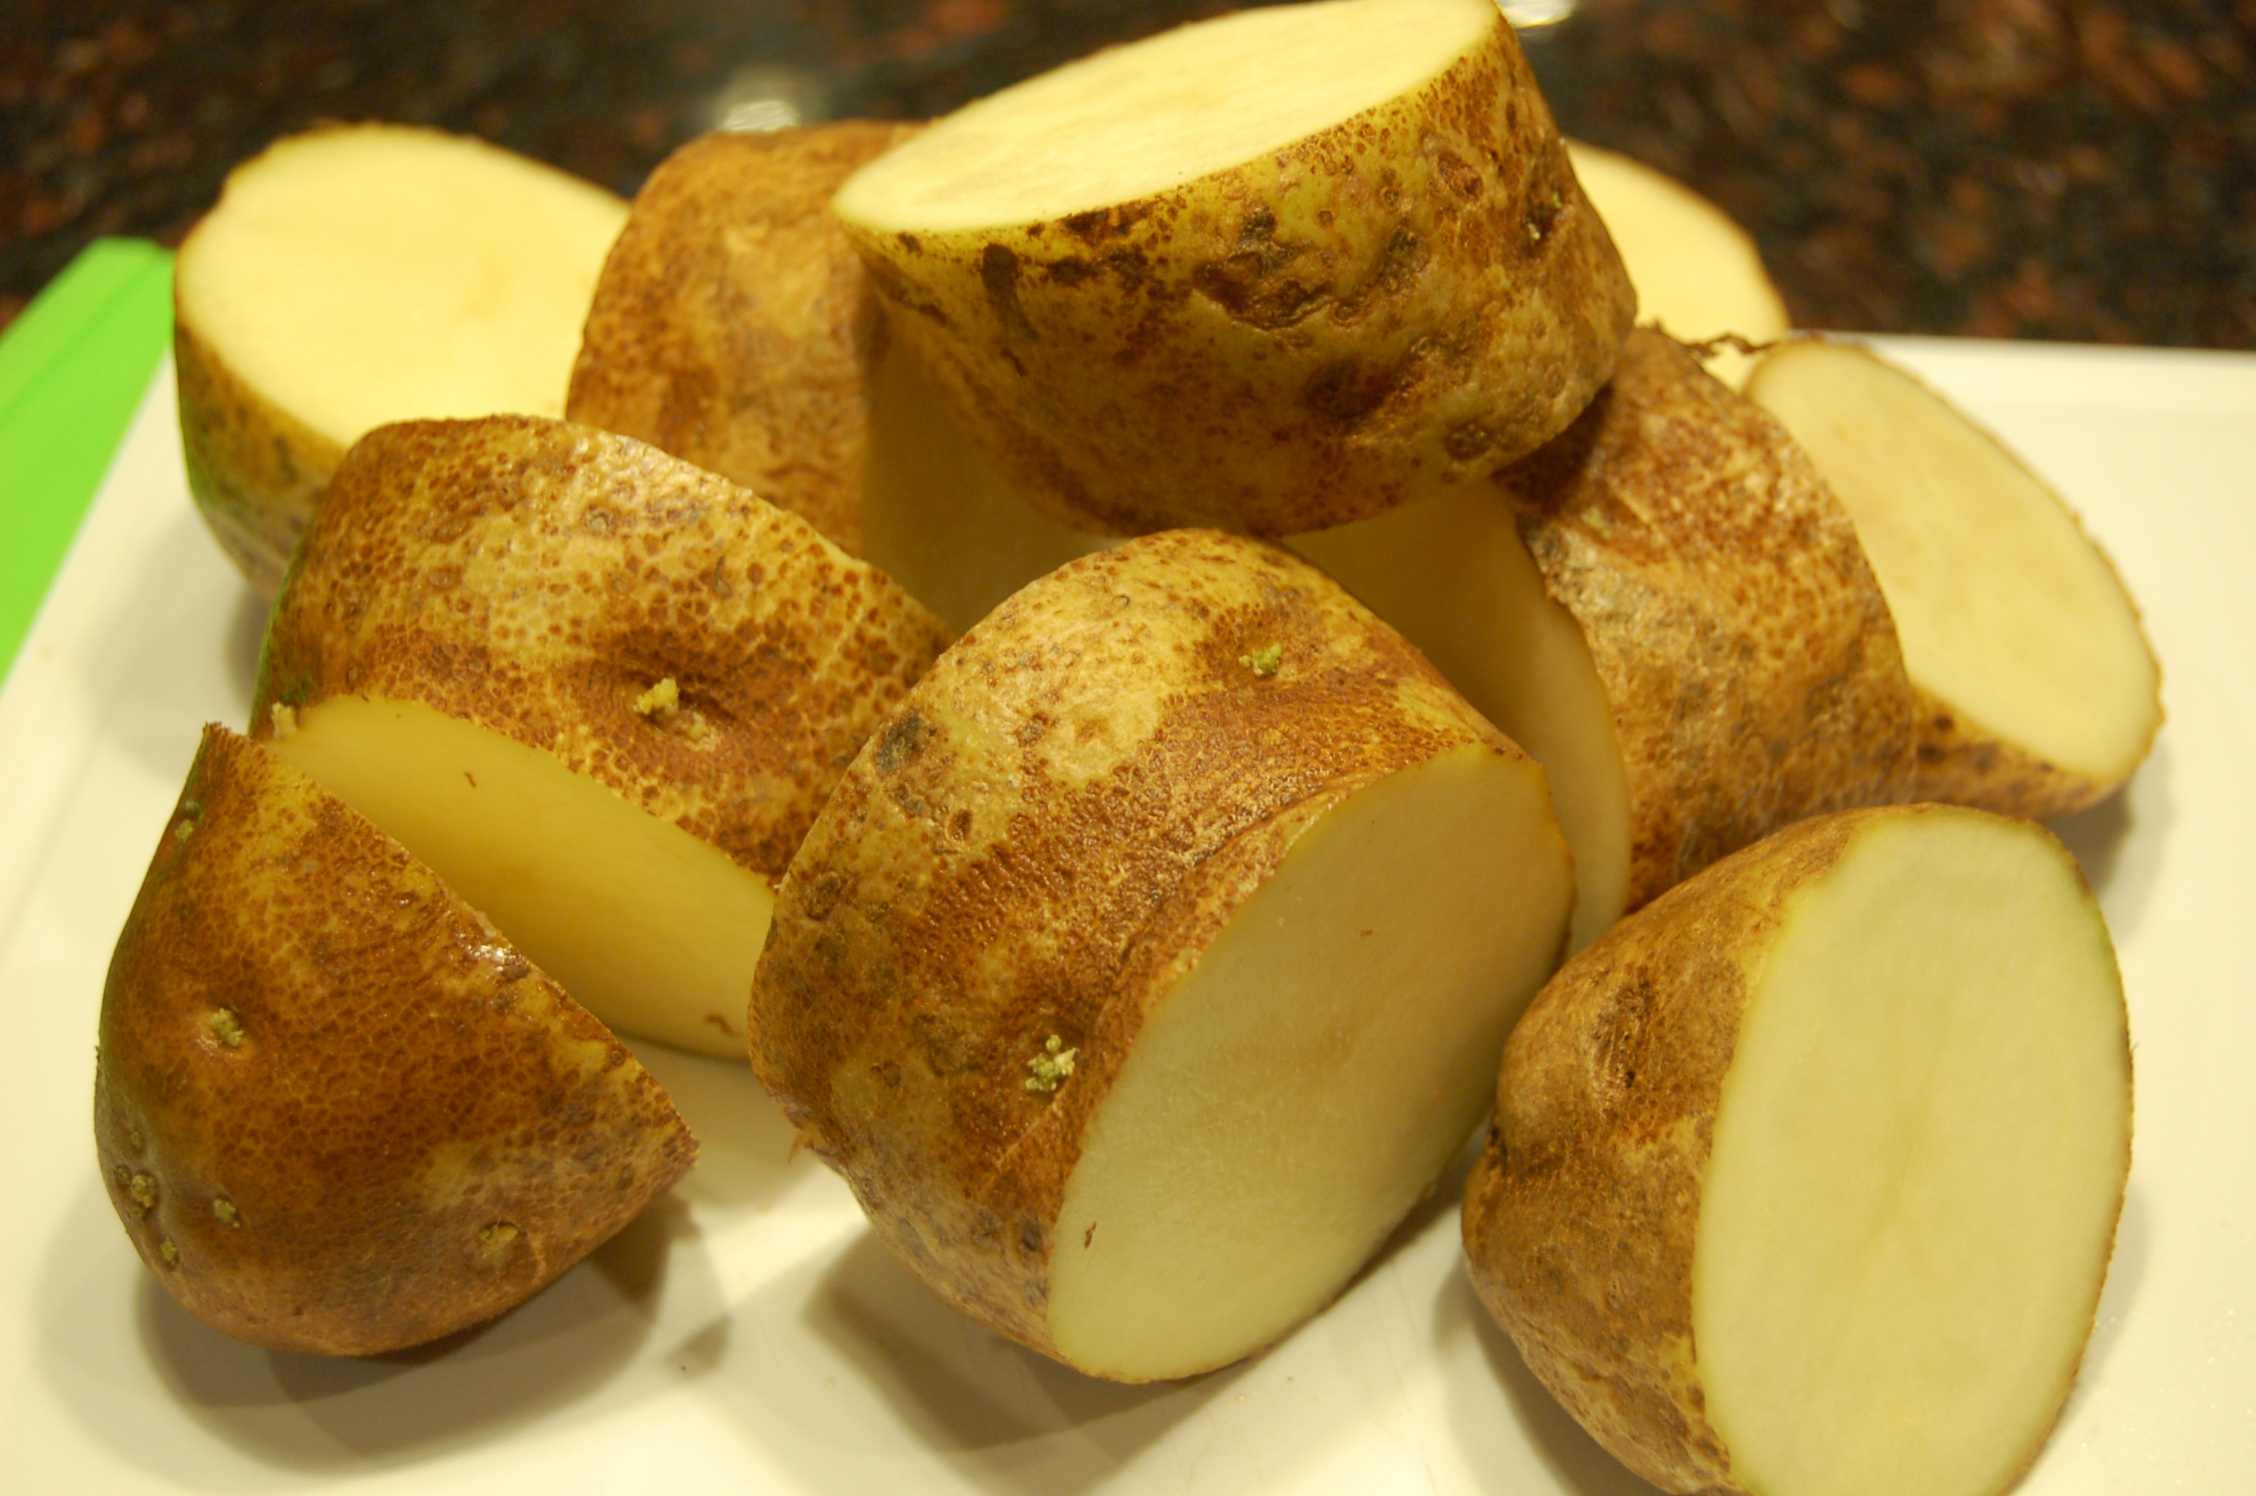
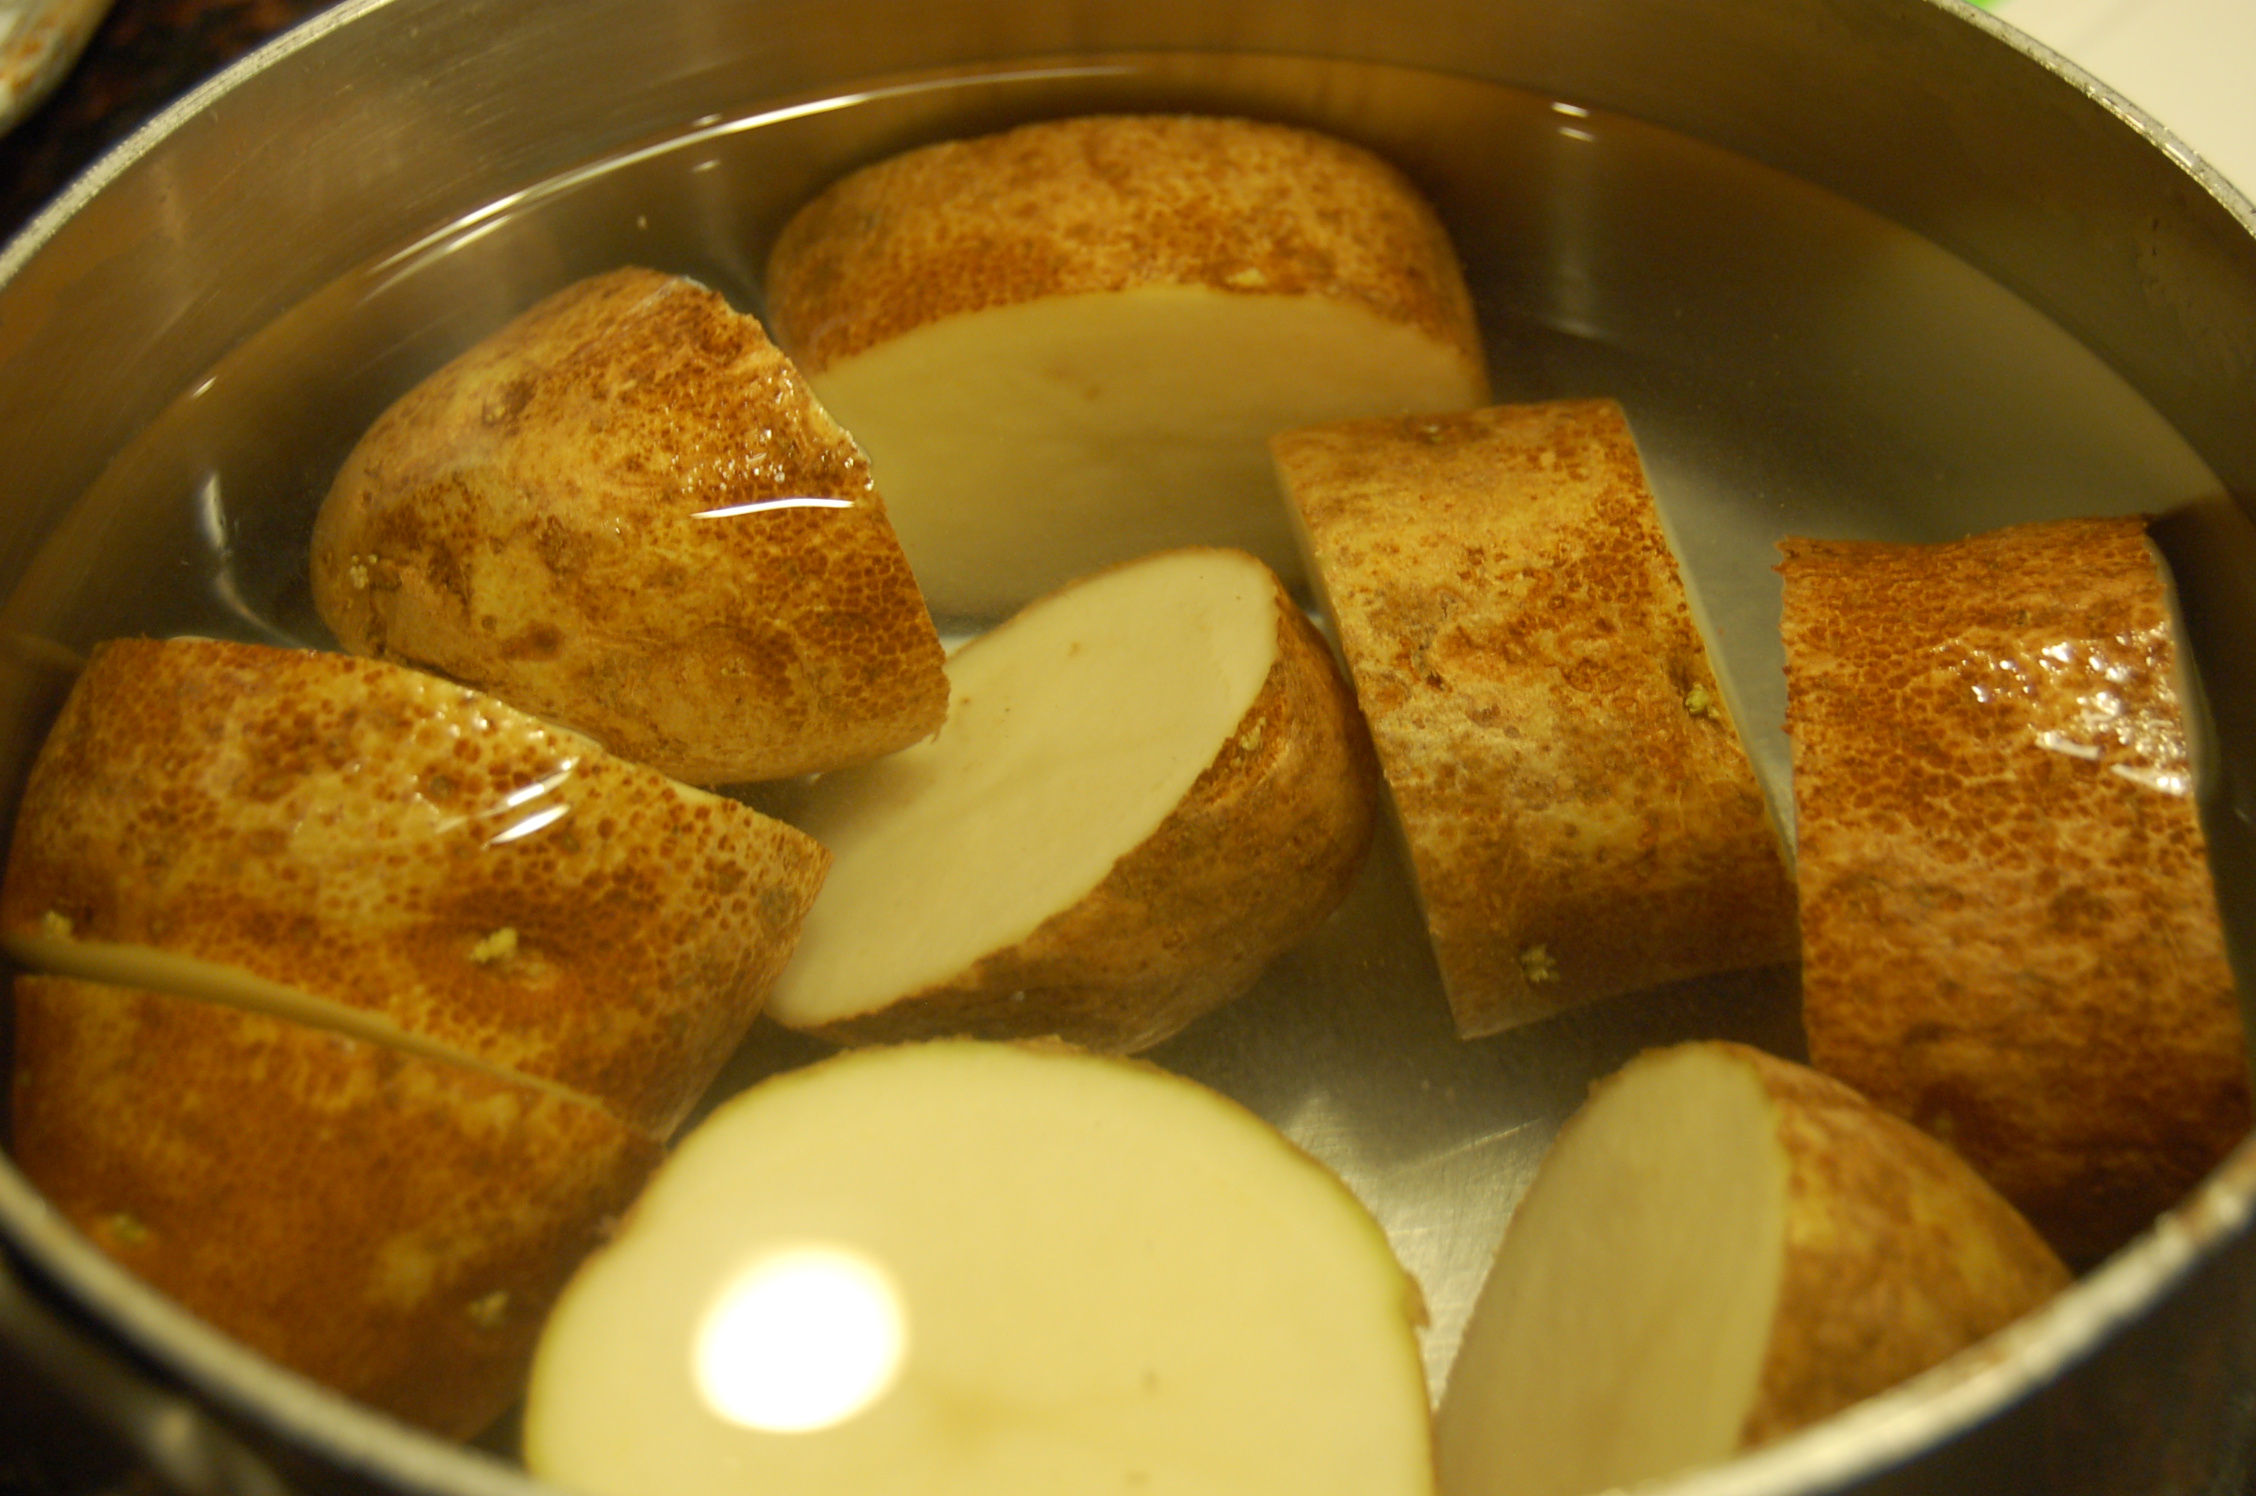
I used the famous Russet Baking Potatoes.  You’ll only need a couple of these to make a dozen or so of Loaded Smashed Potatoes.  Wash your potatoes well and slice them into 1in pieces.  Place the cut potatoes into a pot and fill with water to boil on a medium high heat.  It will only take about 15 minutes before they are fork tender.  Be careful not to over boil your potatoes, because you’ll bake them for another 5 to 7 minutes. Add a generous amount of salt to flavor the potatoes…I used a heaping tablespoon of kosher salt.  After they are fork tender, drain off the access water. Line a baking sheet with foil and coat with a non stick spray.  Place potatoes on the baking sheet.

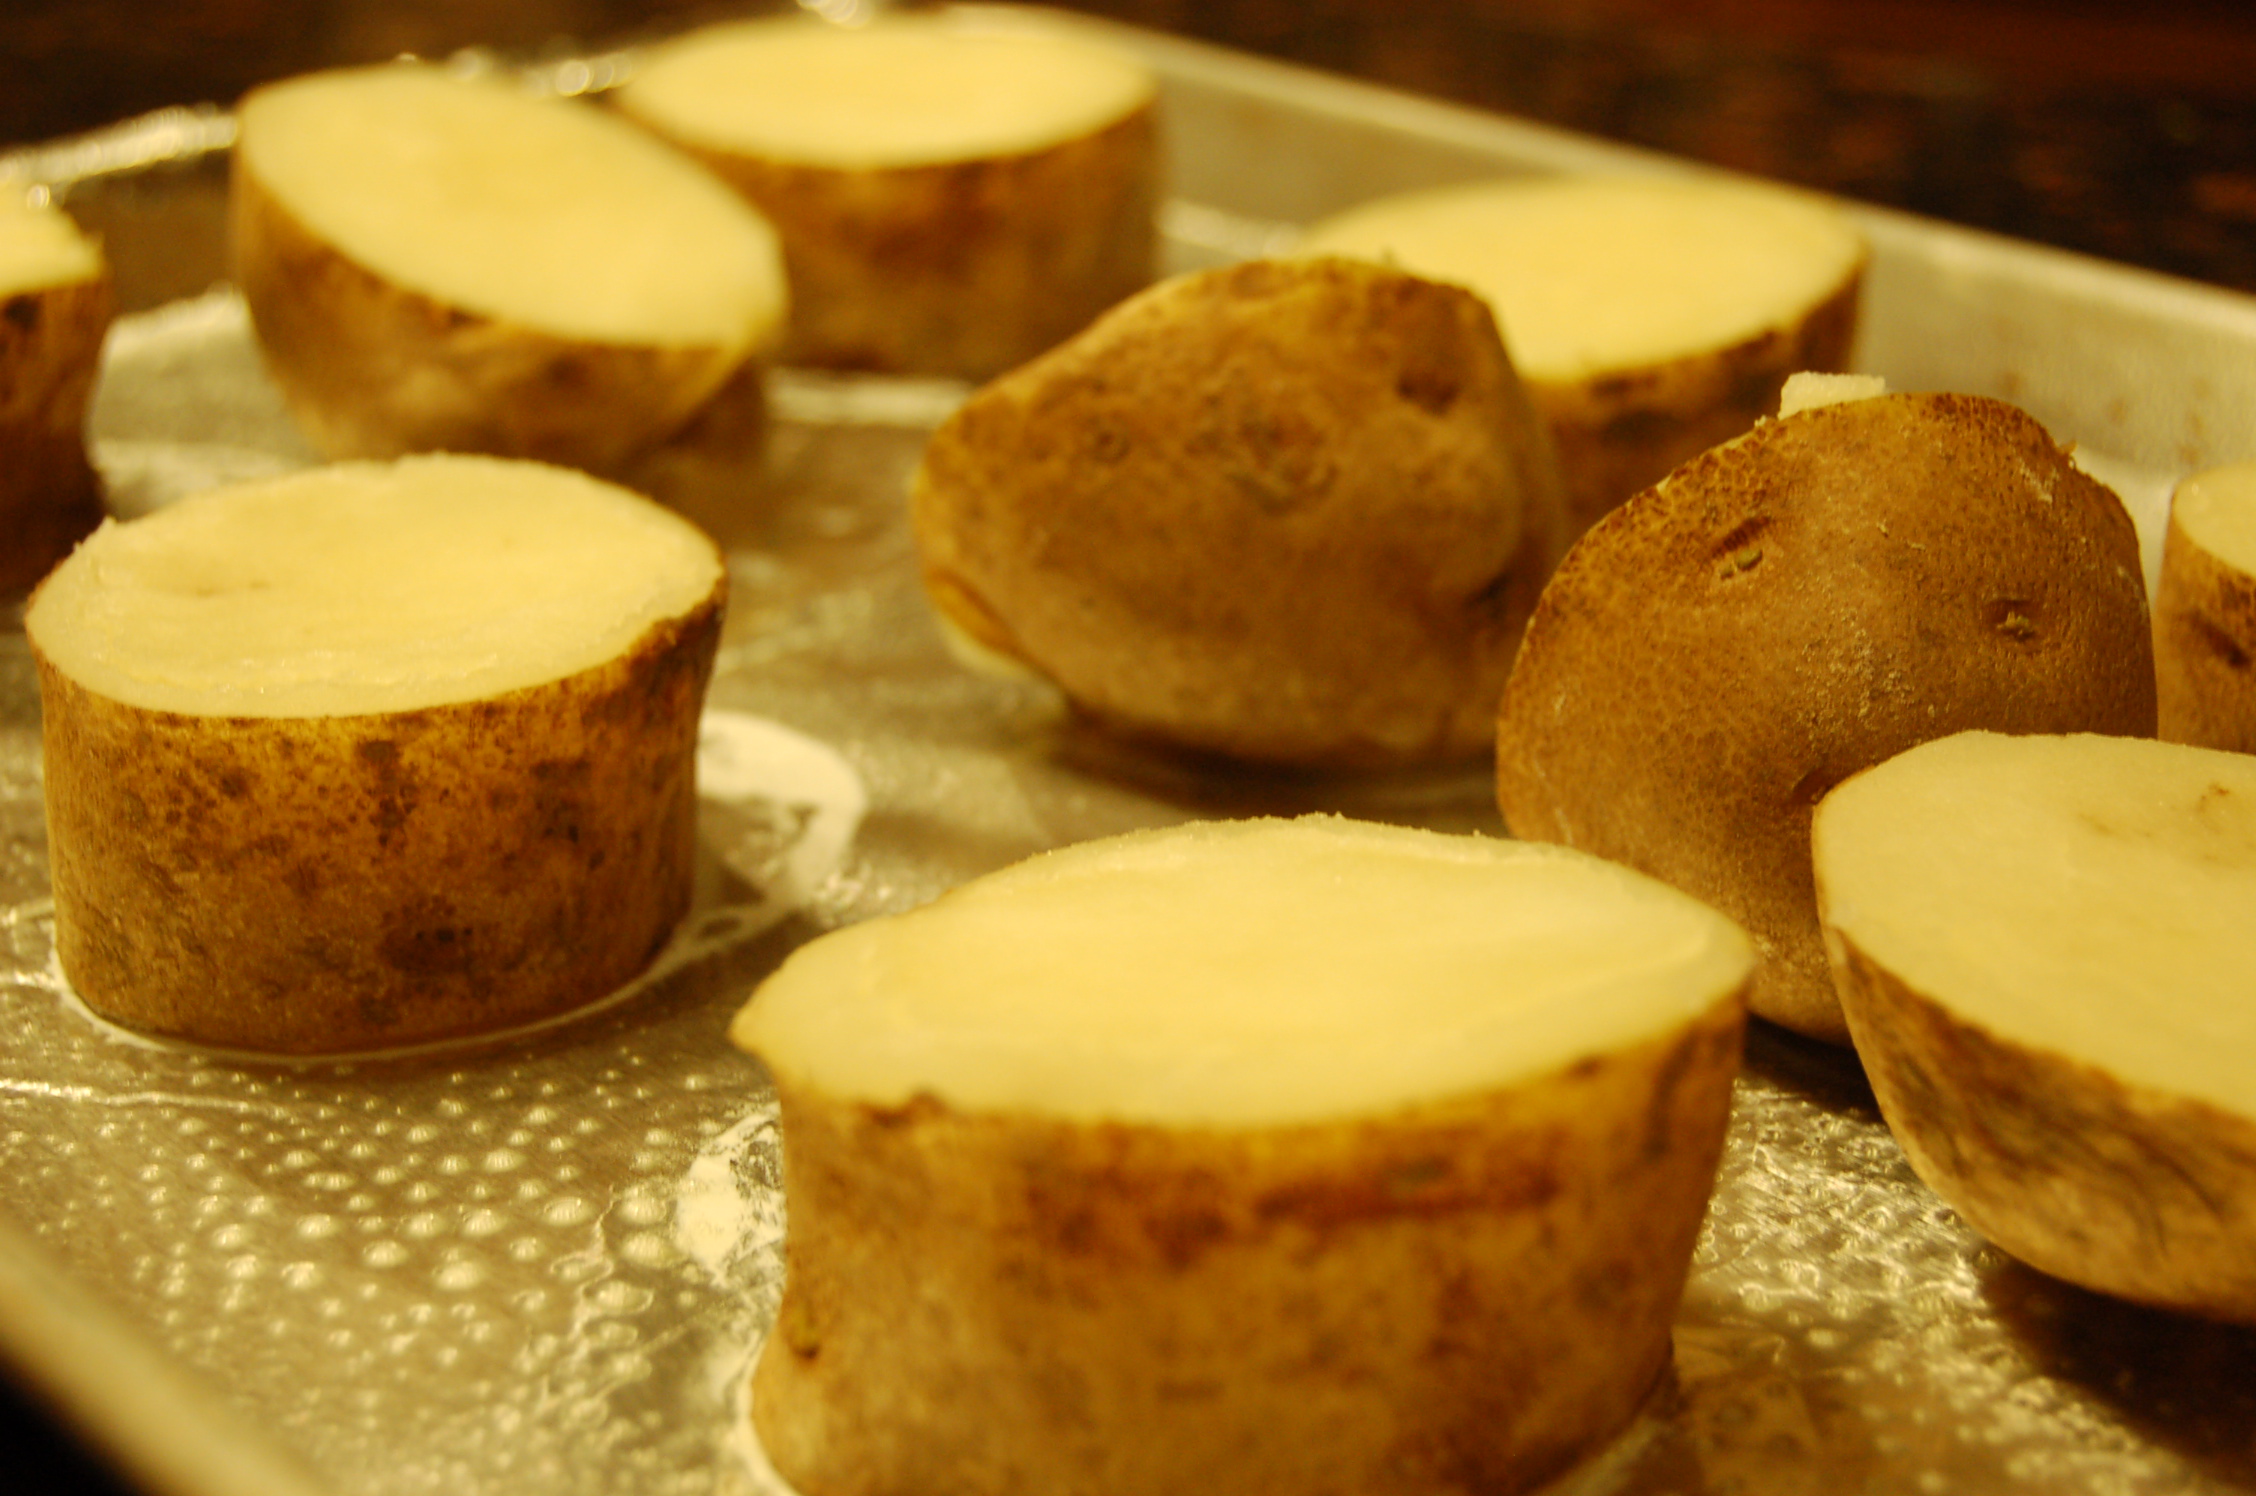
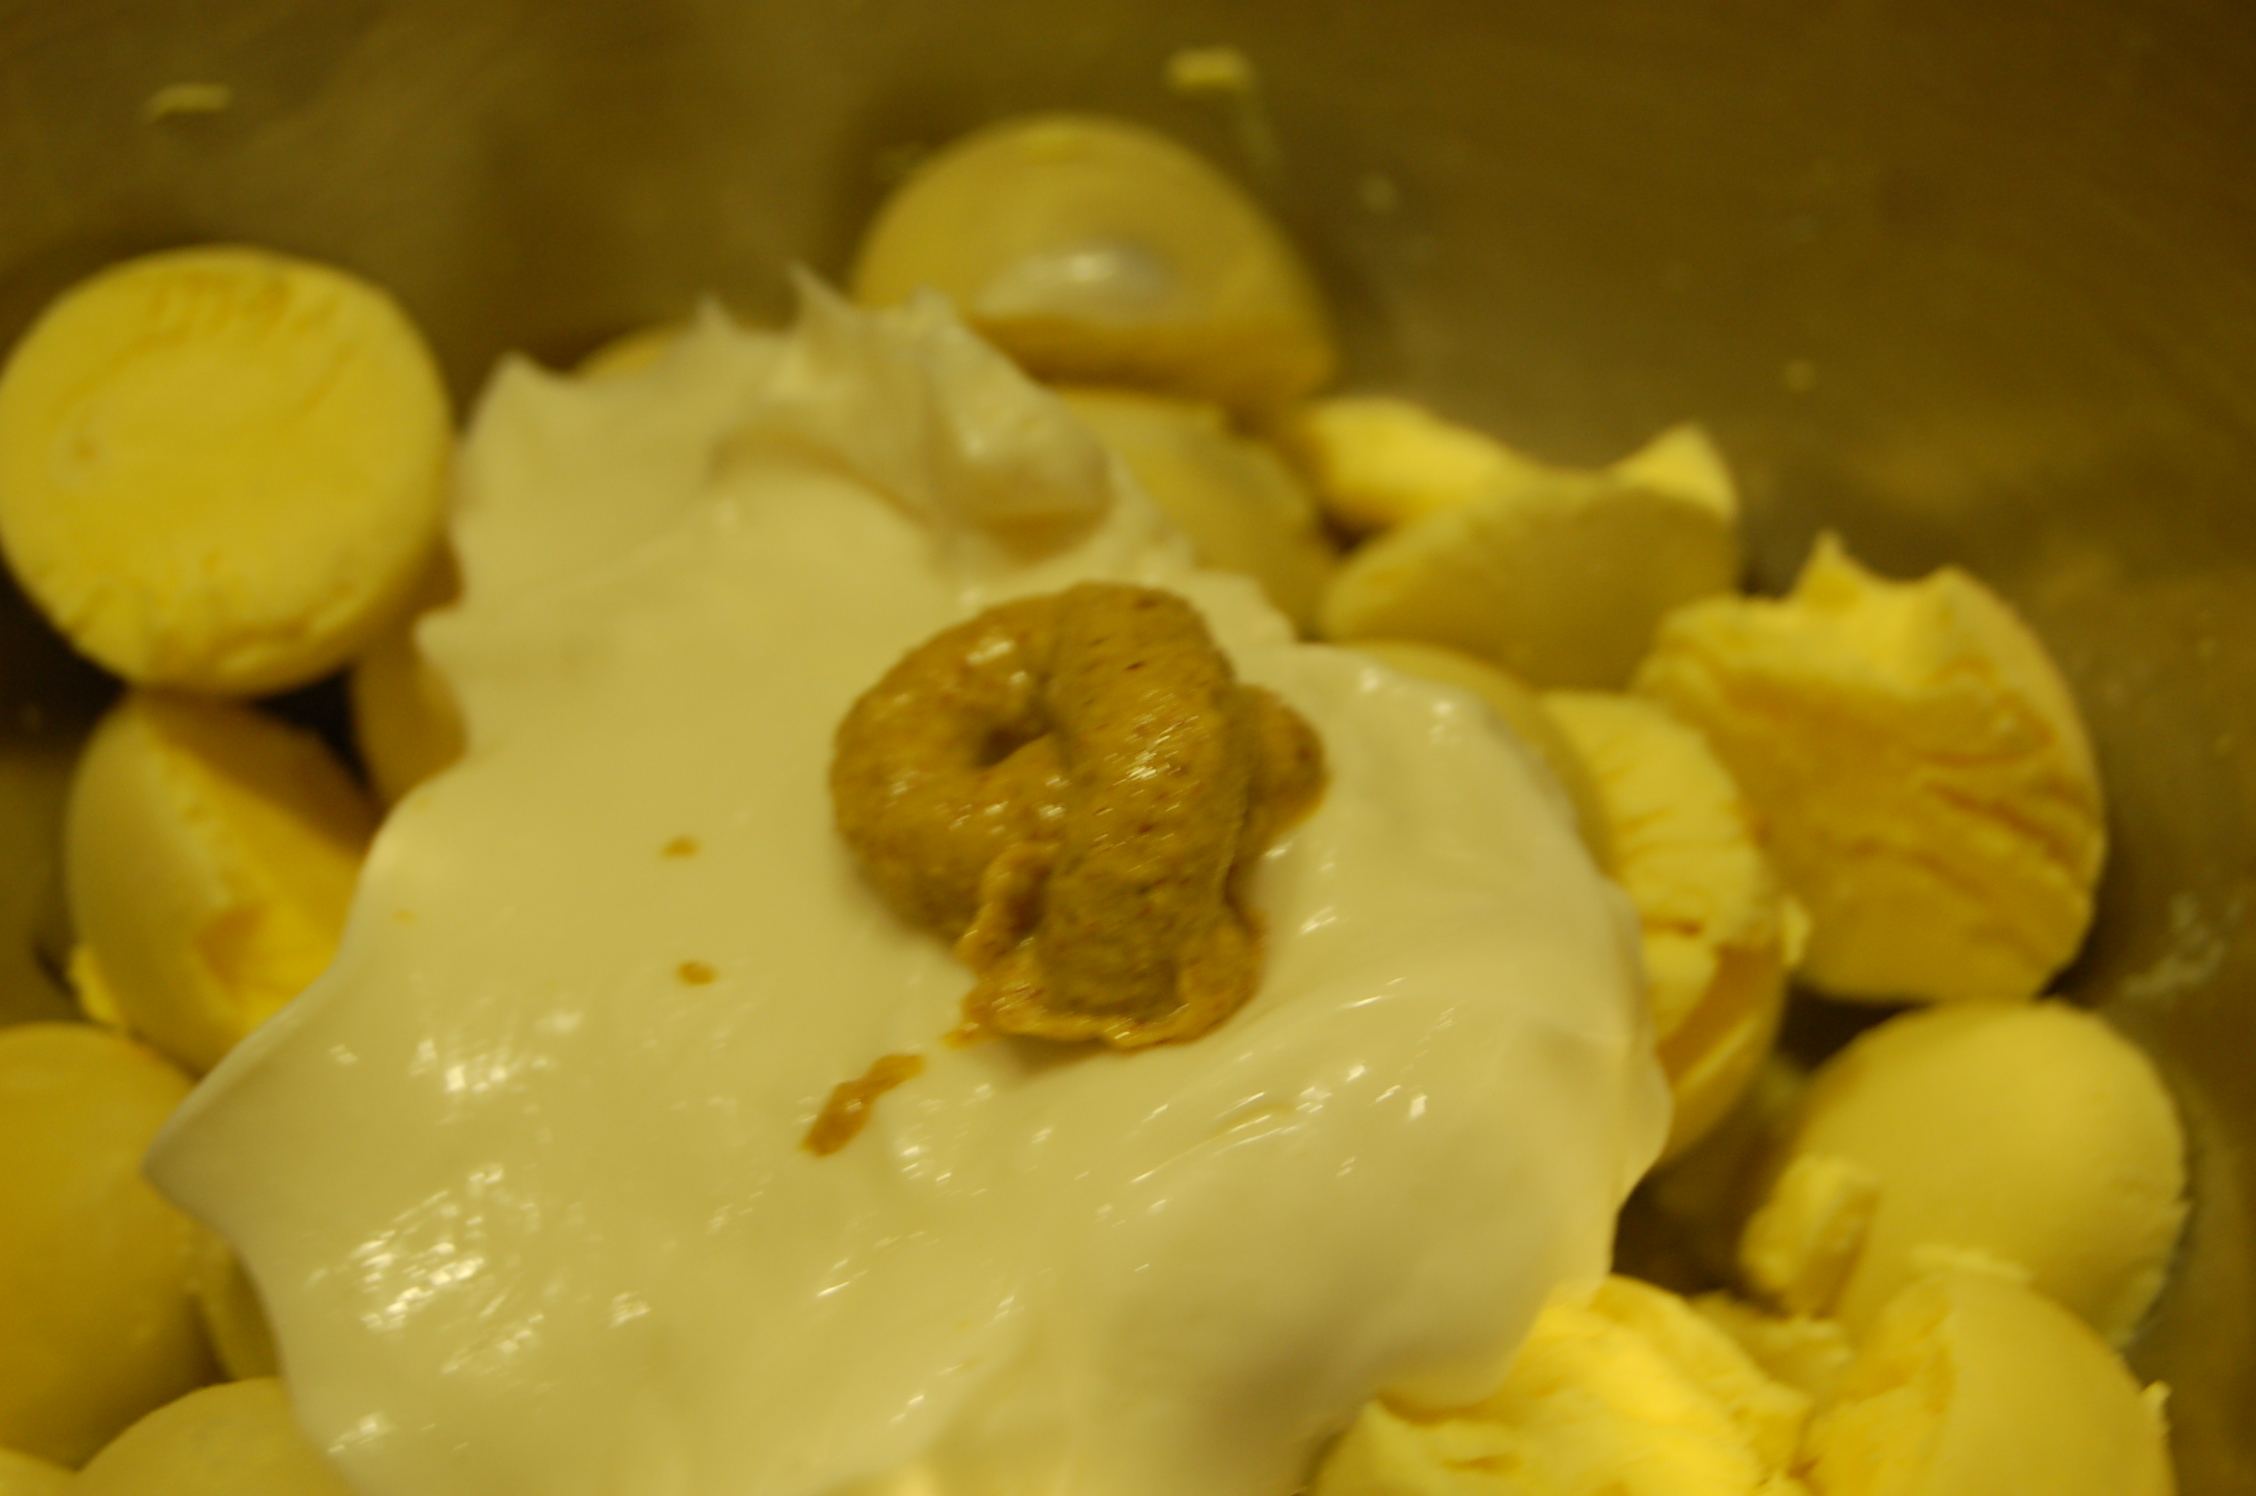
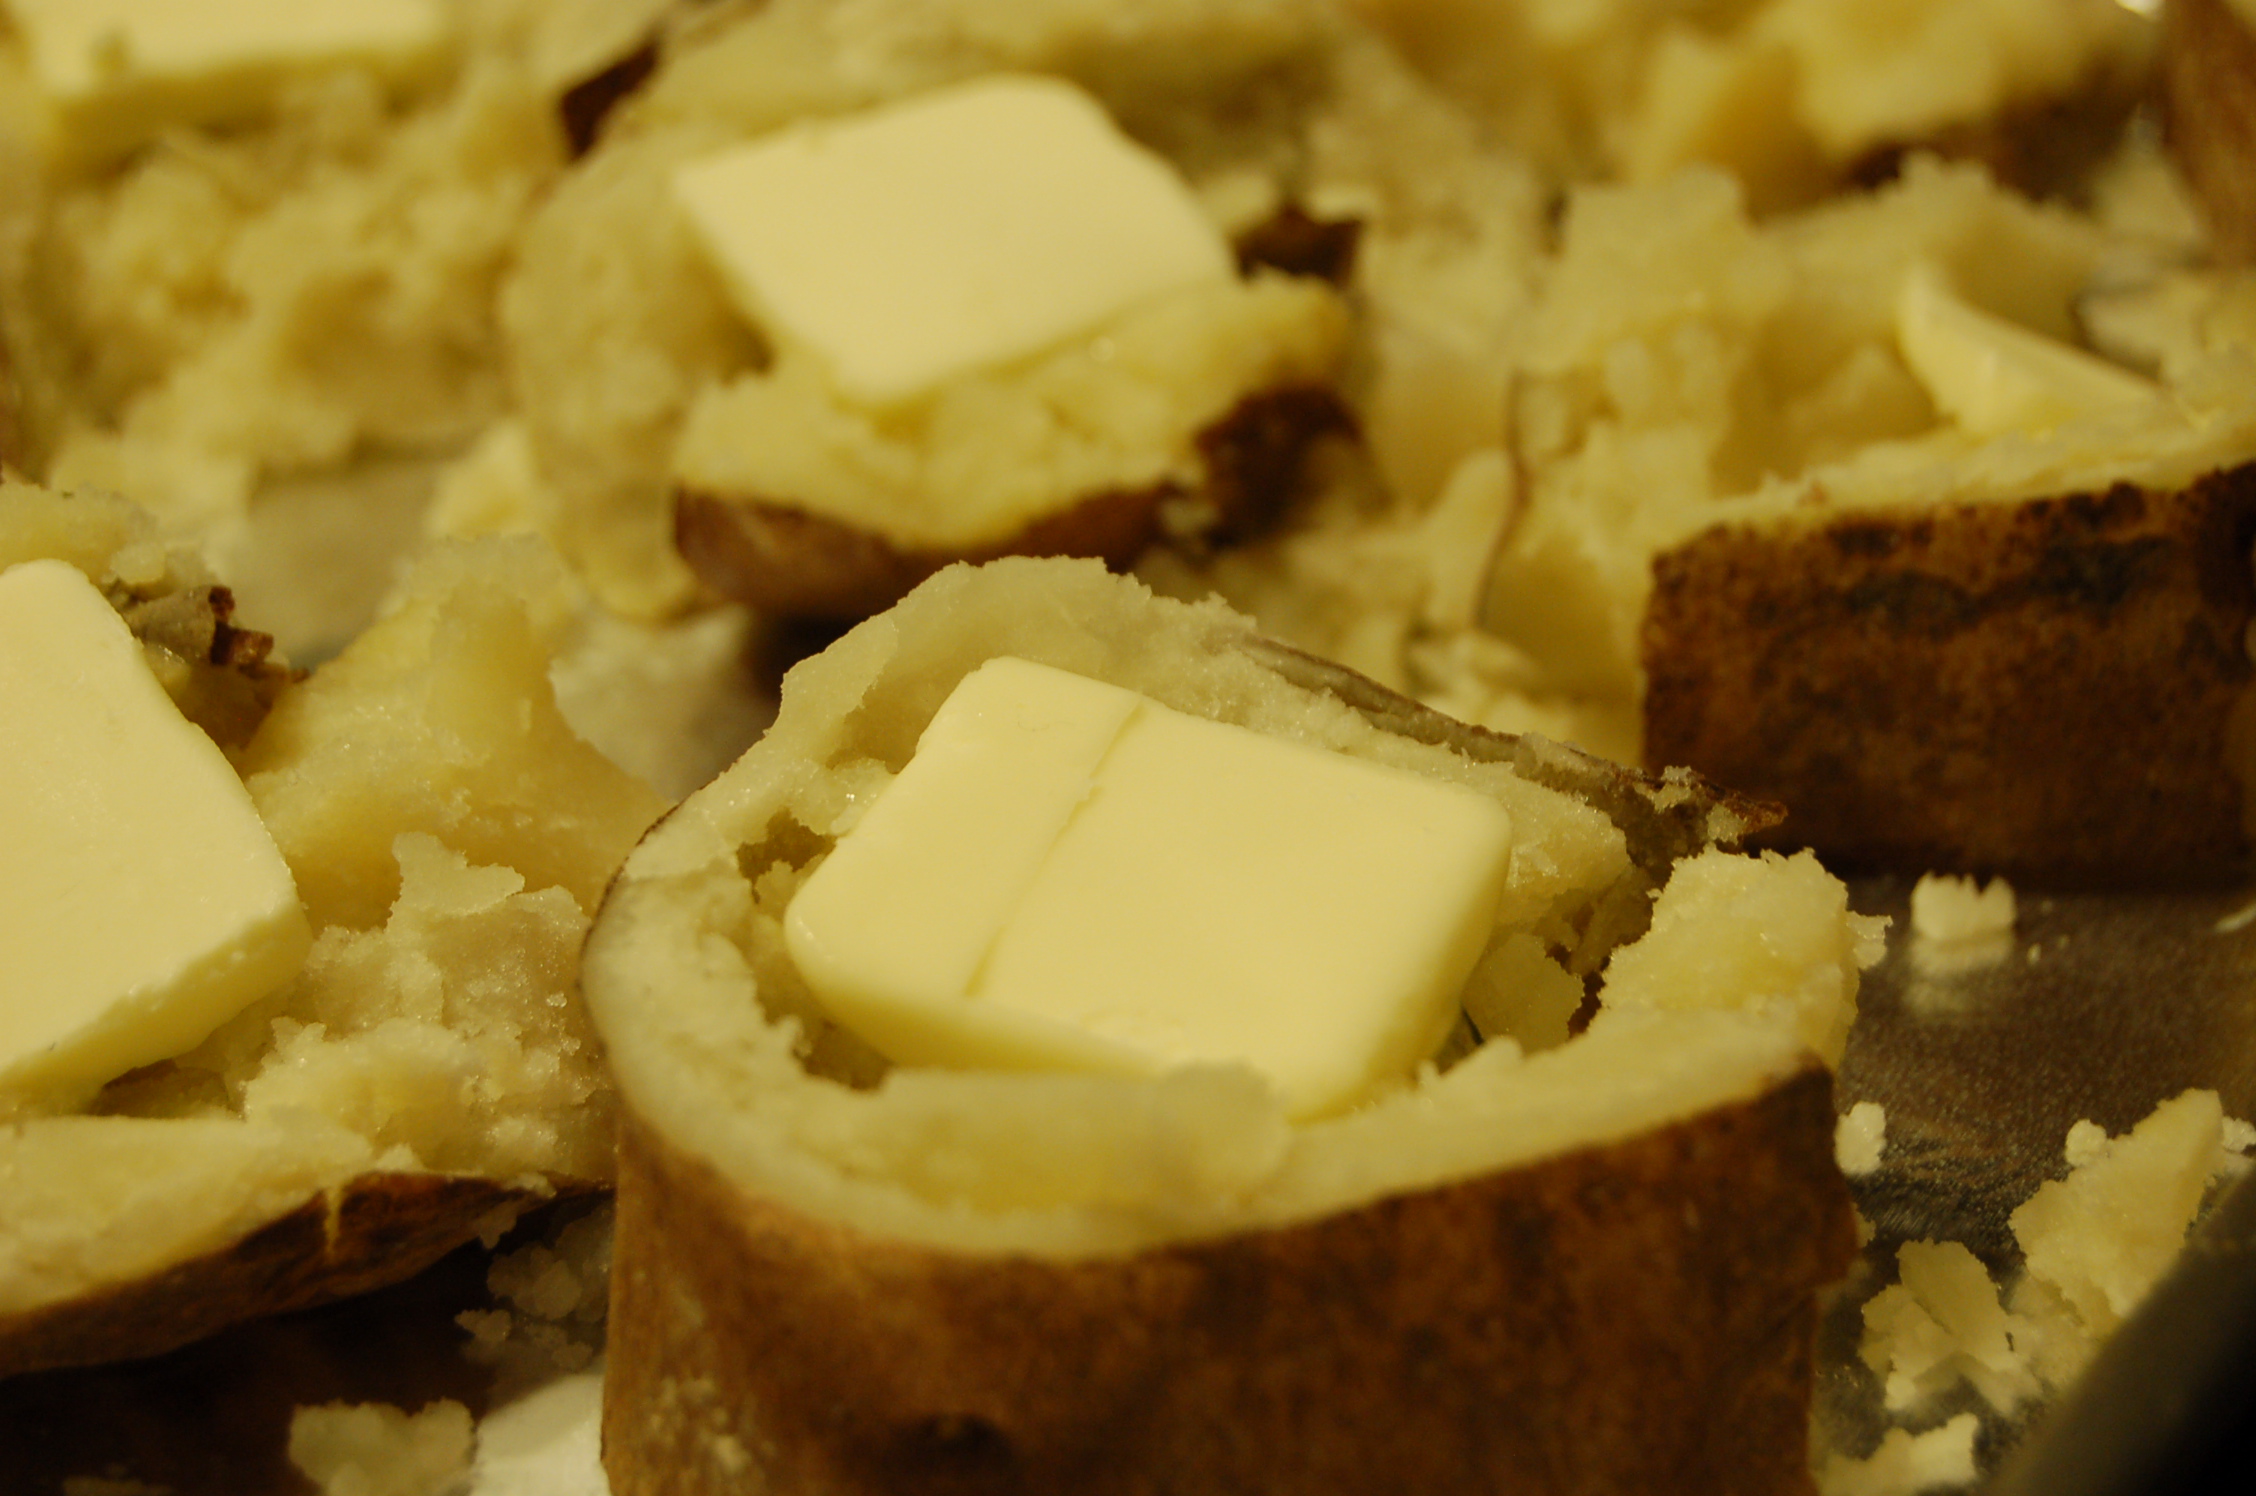
Perfect time to pre-heat your oven to 400 degrees. Grab a large spoon to smash down your potatoes just a little bit.  You'll want the potatoes to still have some shape and form to them. Now it's time to dress your potatoes with favorite topping for your loaded baked potato. I added some butter, shredded cheese, a few sprinkles of crispy bacon and some pepper. Place them in the oven for a good 5 to 7 minutes until the cheese is just oozing down the sides.  Remove from the oven and eat them as the perfect side to your favorite entrée.

Loaded Smashed Potatoes

The Perfect Side

Recipe

2 Large Russet Baking Potatoes

1 Tablespoon of Kosher Salt

1 Cup of Shredded Cheddar Cheese

8 Tablespoons of Butter

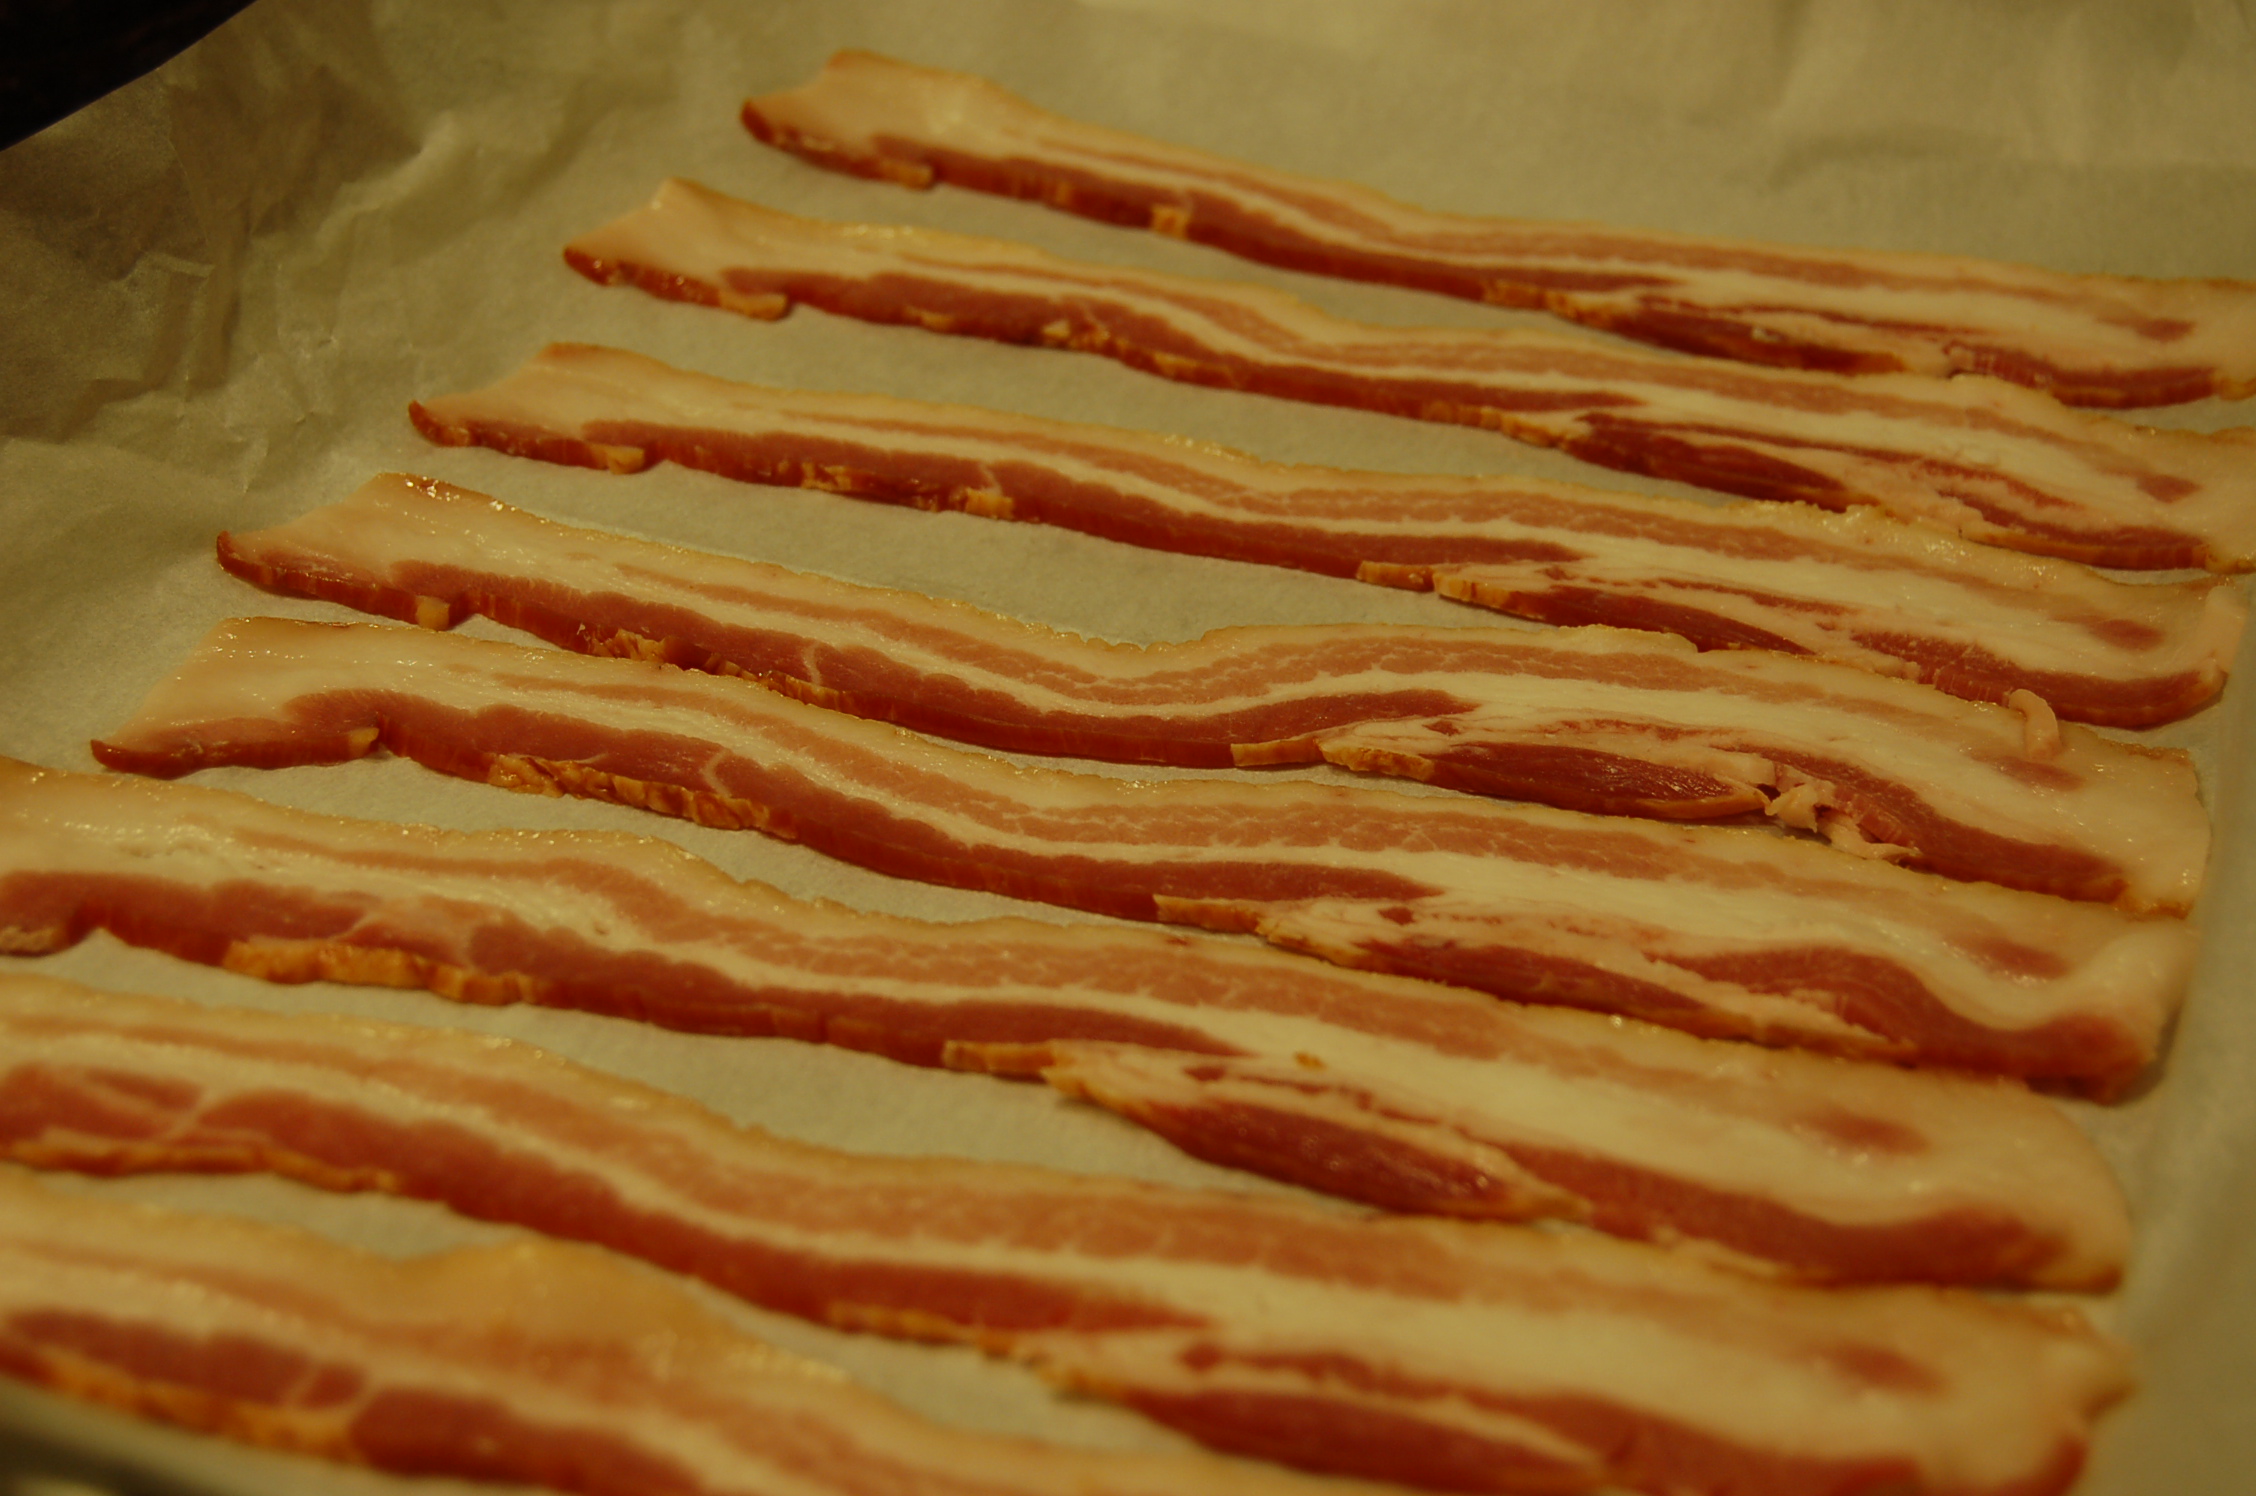
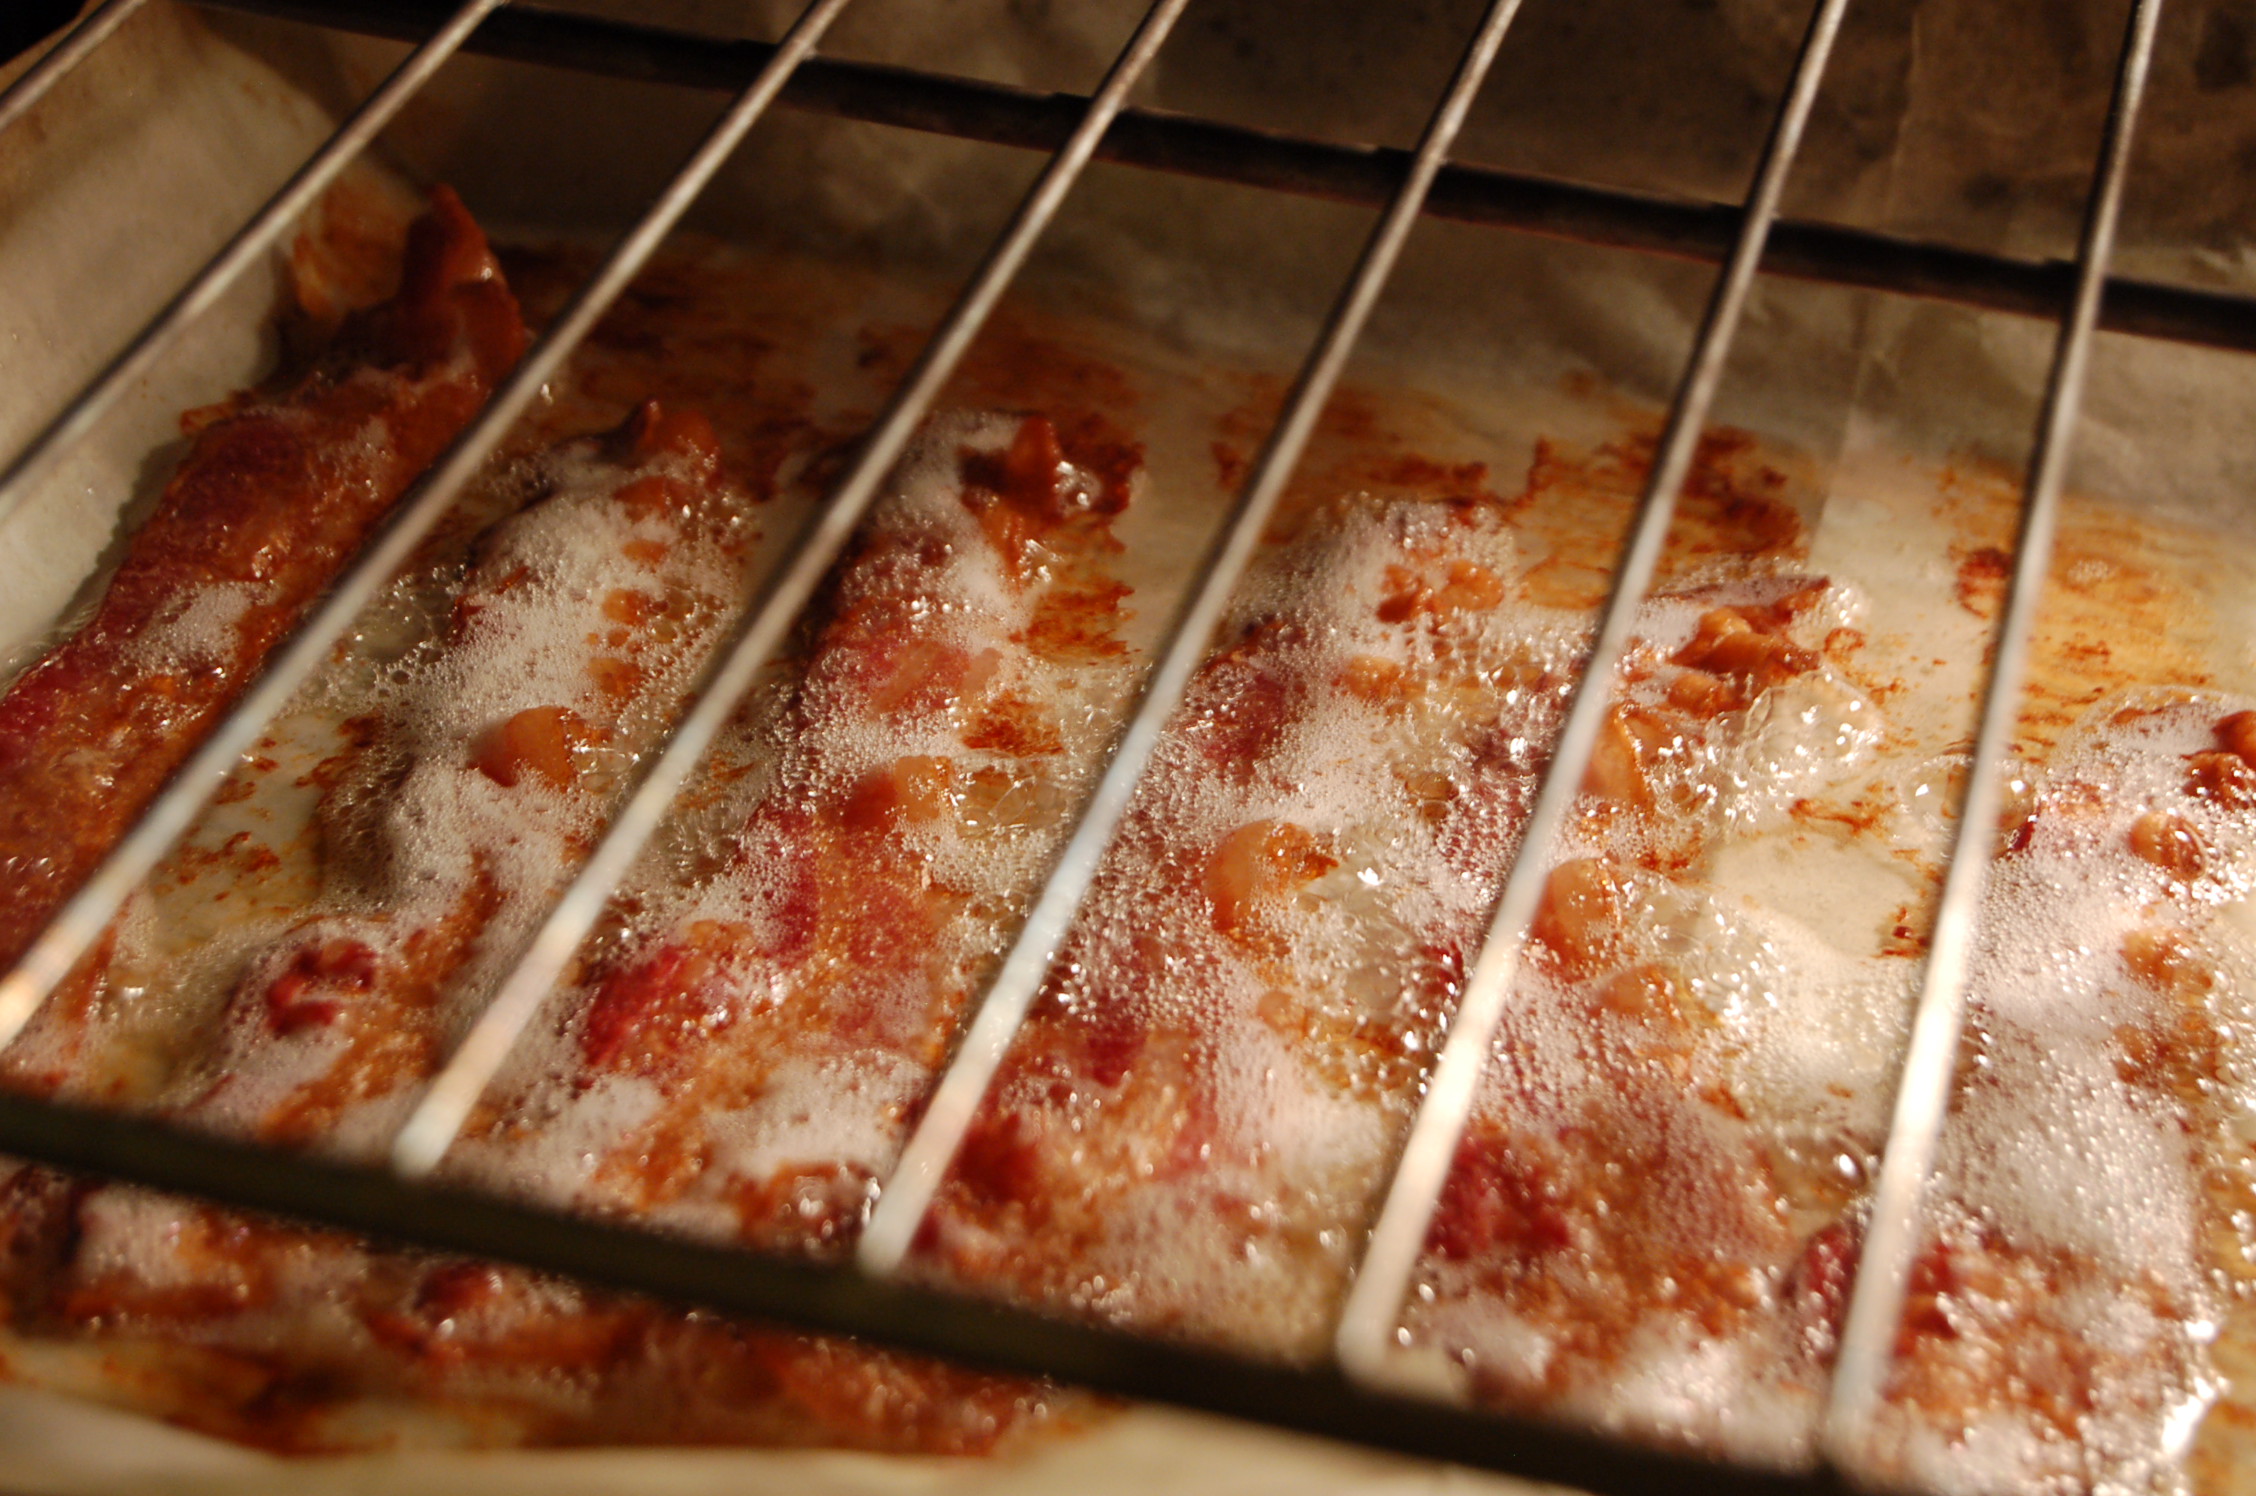
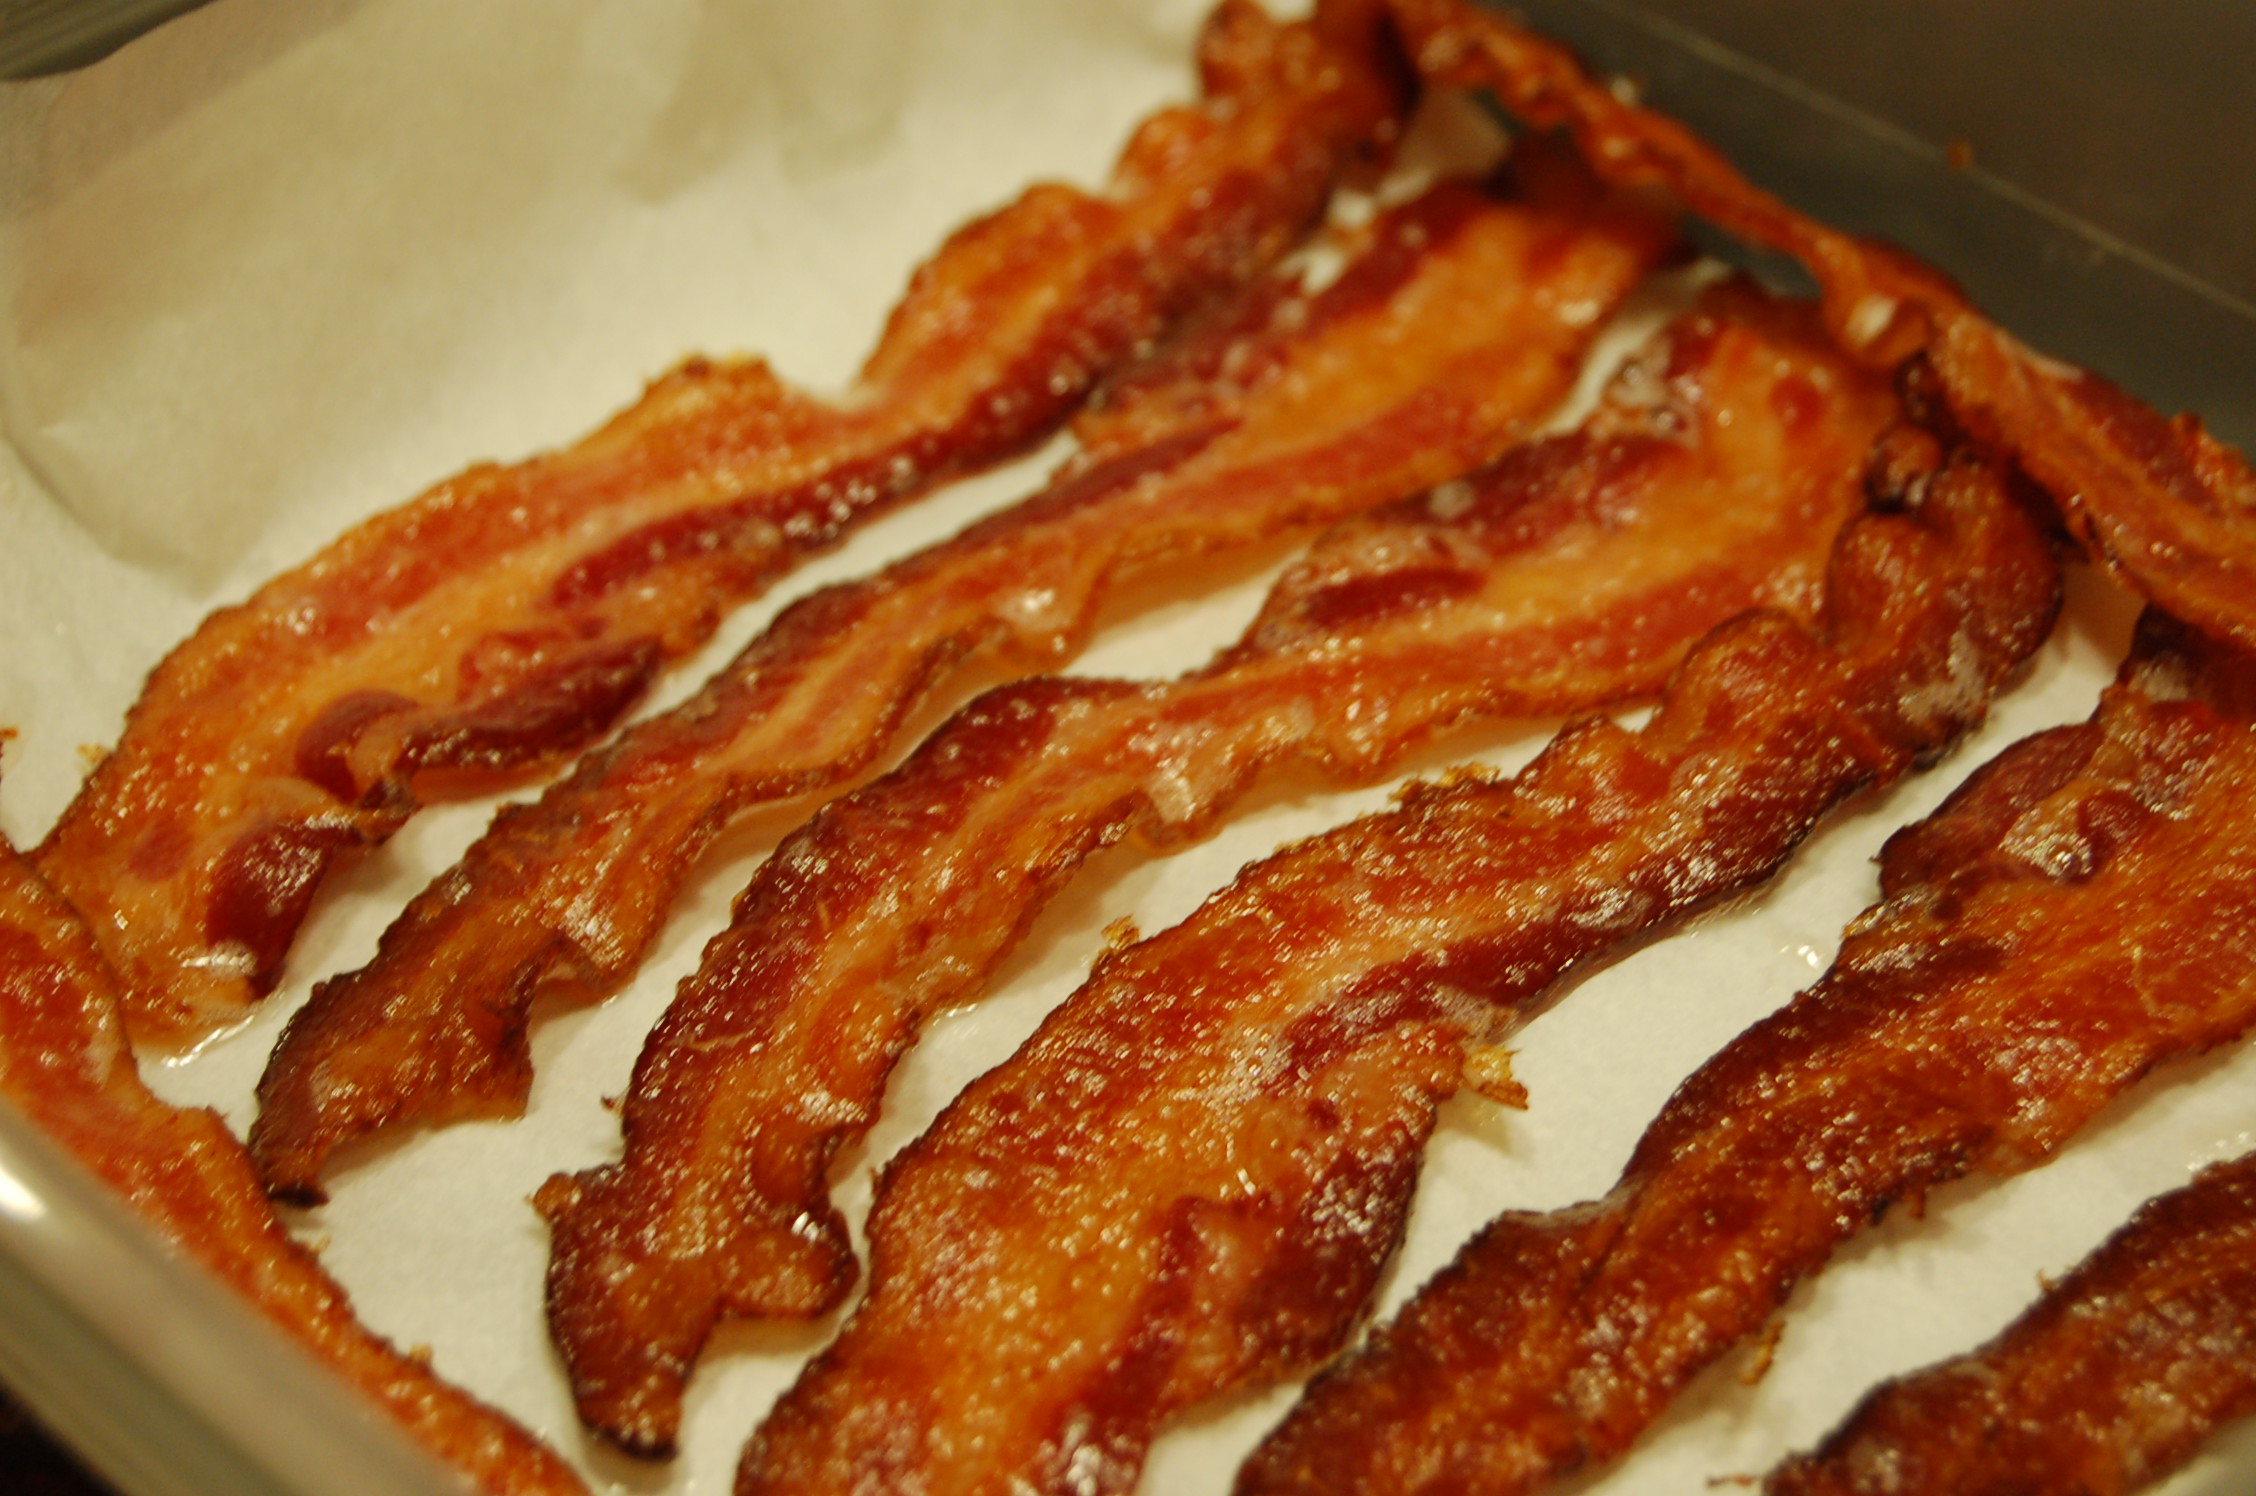
2 Crispy Bacon Strips

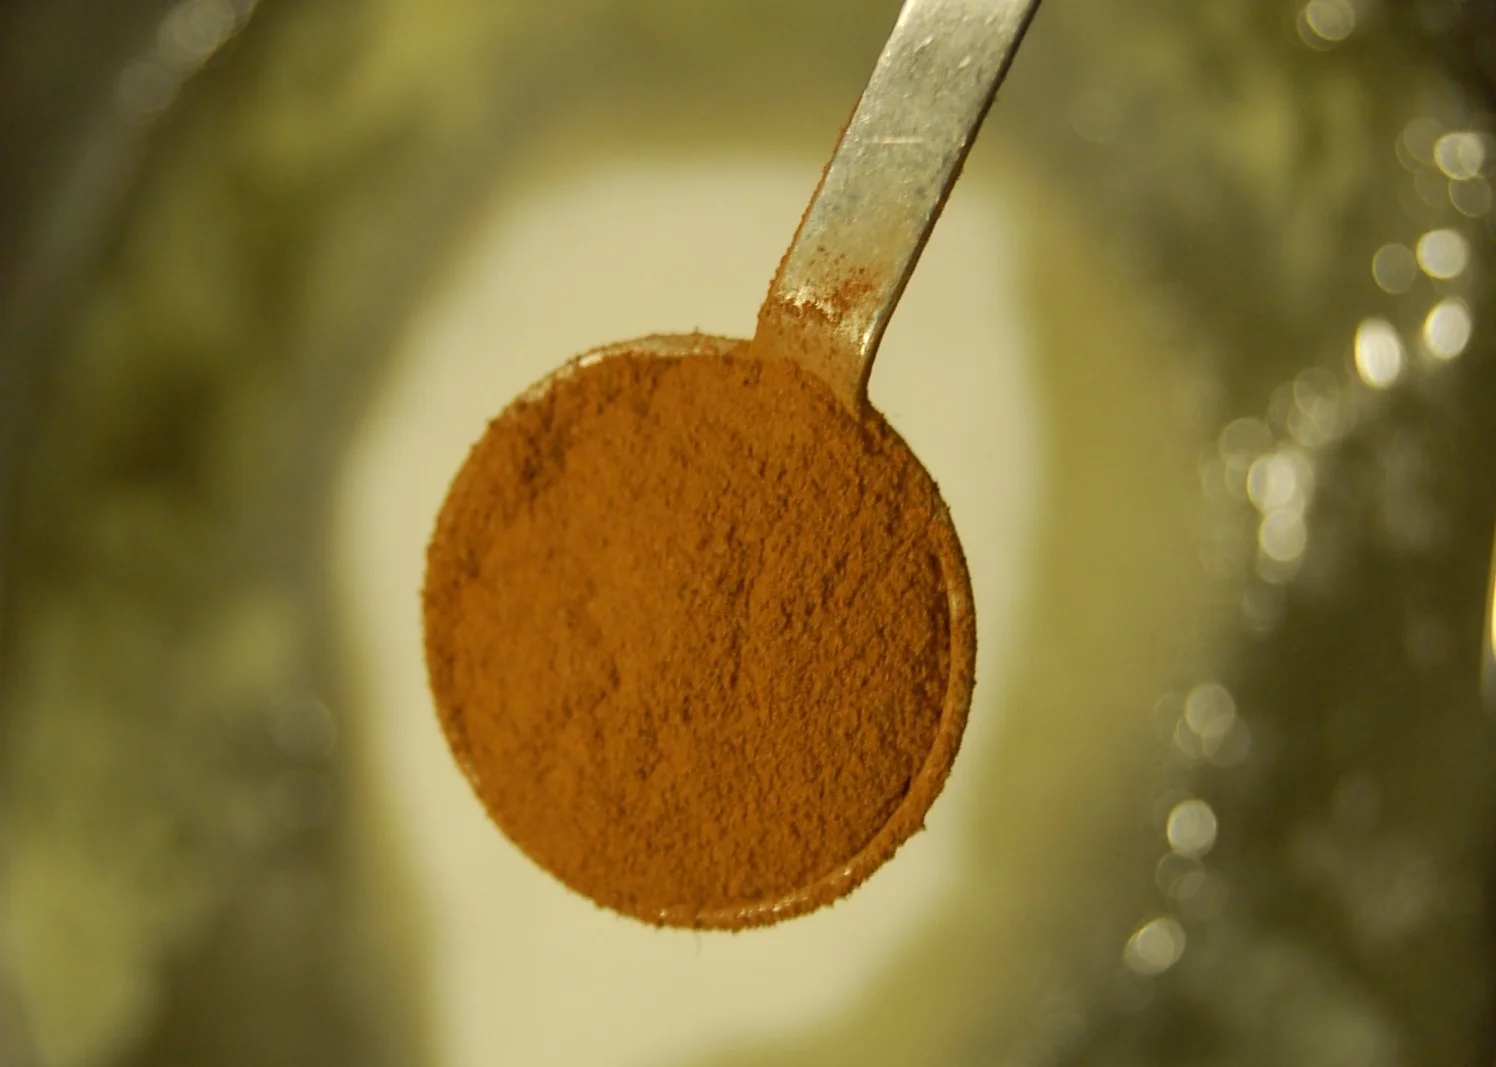
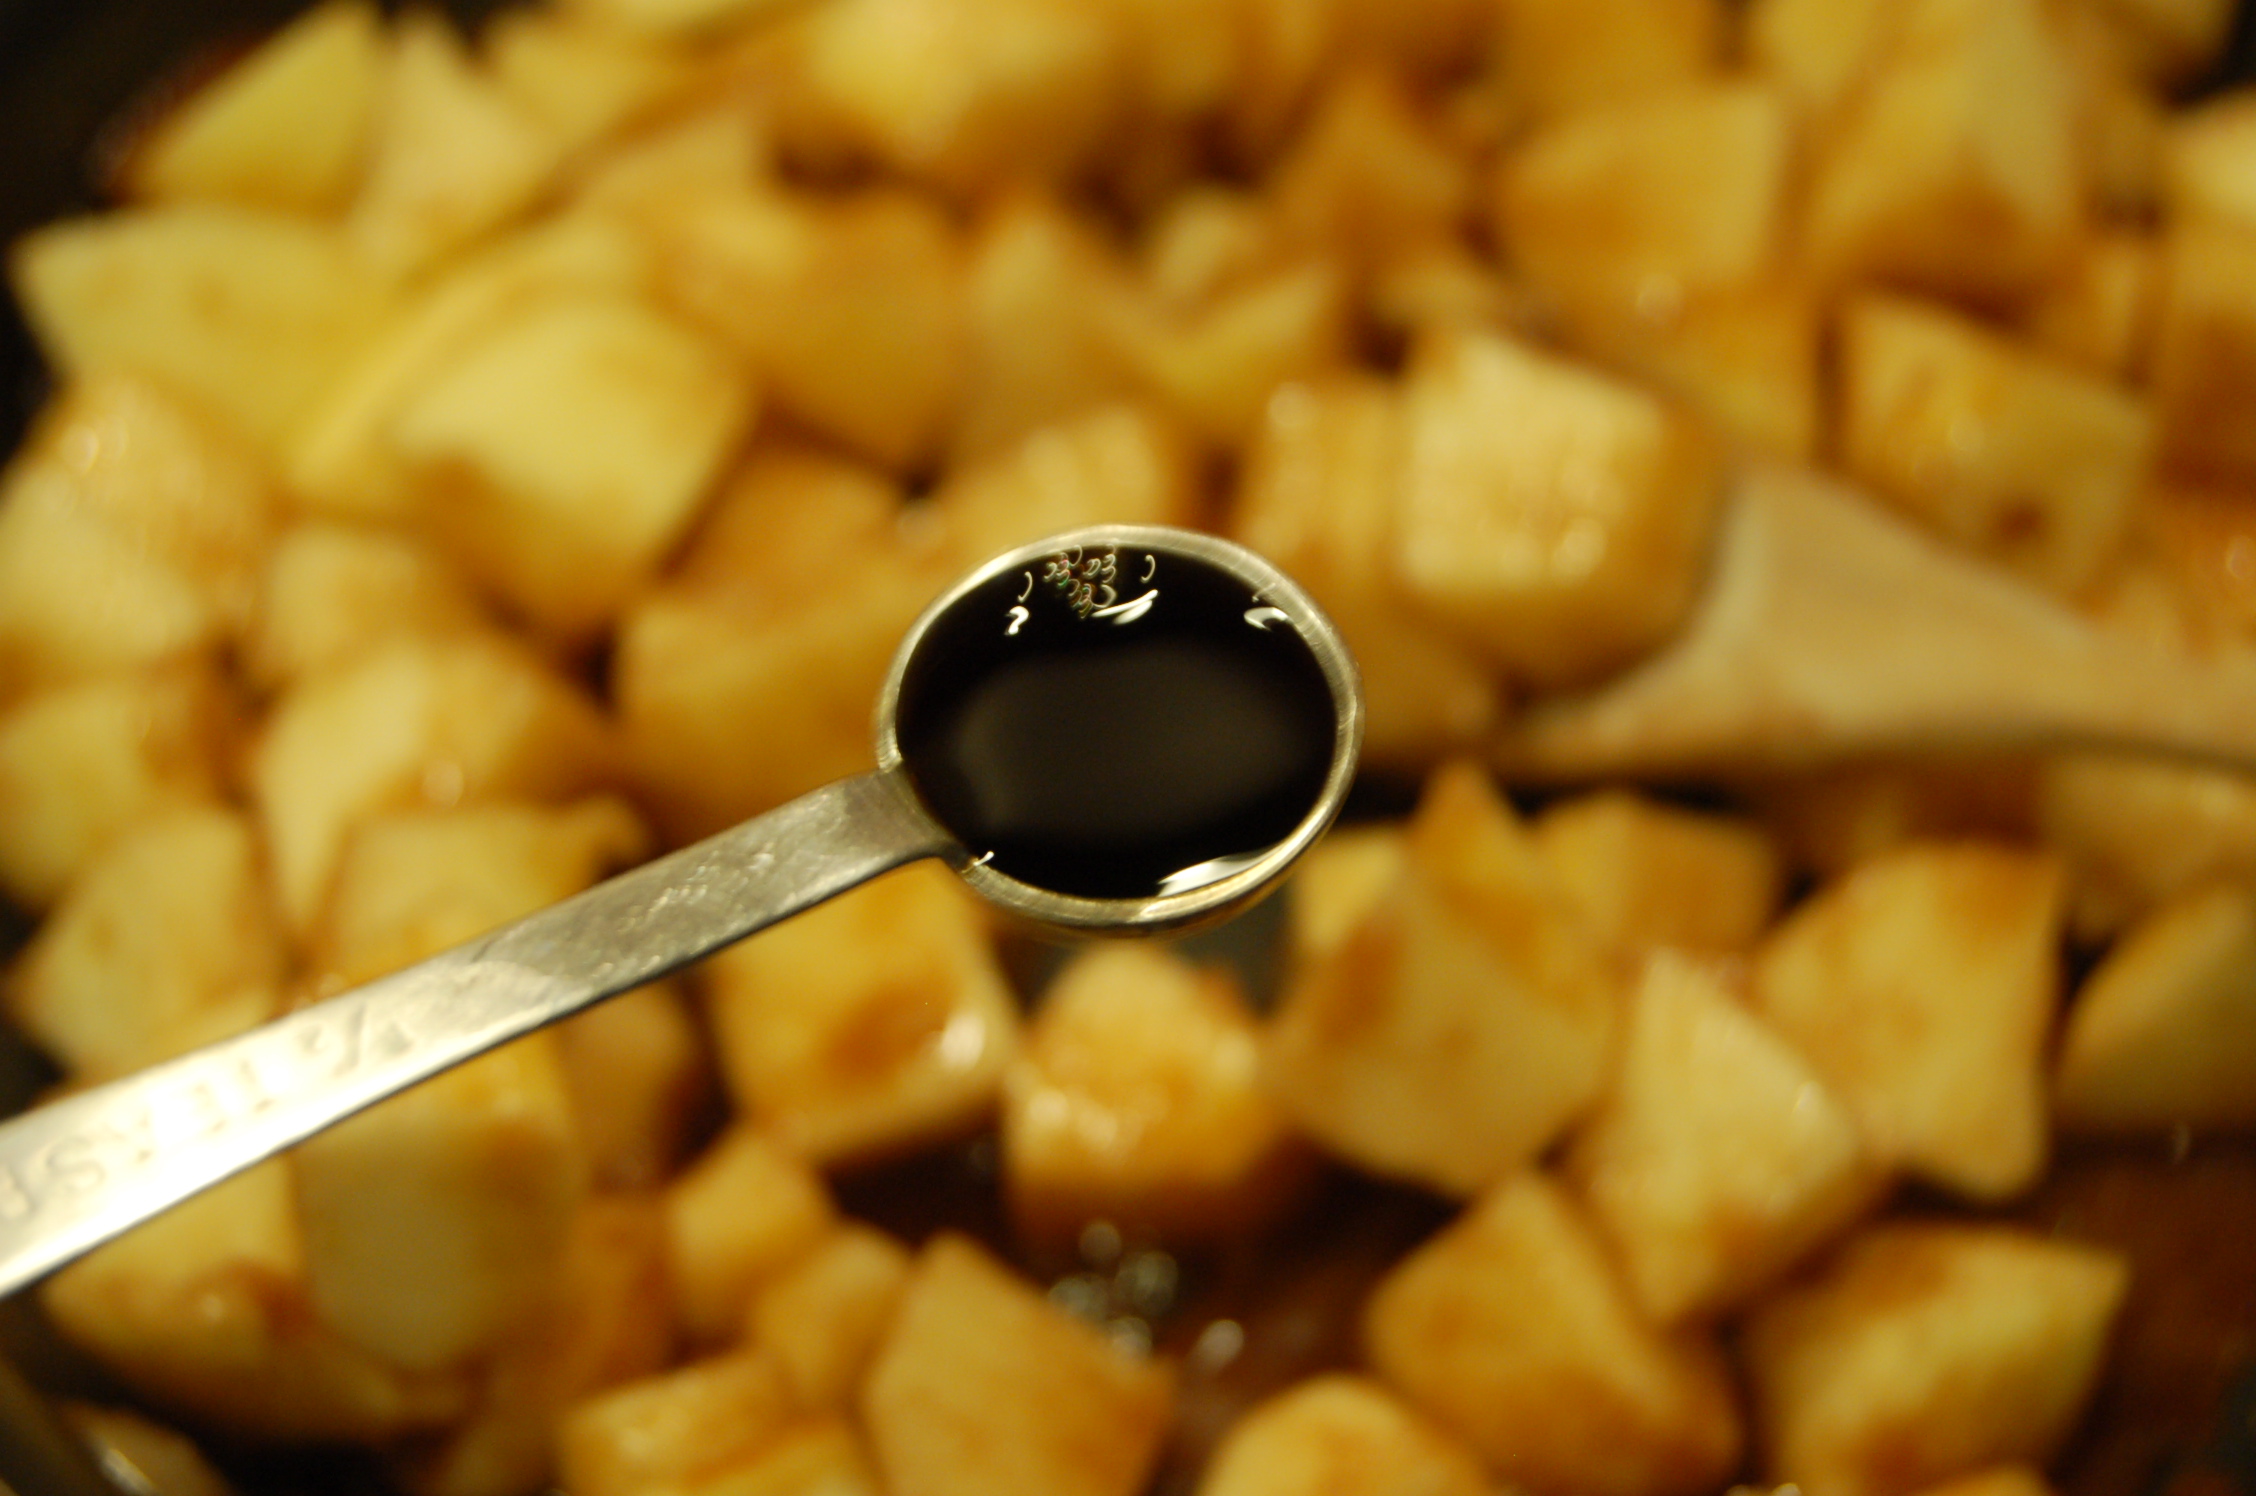
1 Tablespoon of Fresh Cracked Black Pepper


Directions

1, Wash your potatoes well and slice them into 1in pieces. 

2. Place the cut potatoes into a pot and fill with water to boil on a medium high heat for 15 minutes or until fork tender. Add a generous amount of salt to flavor the potatoes.

3. Pre-heat your oven to 400 degrees.

4. Line your baking sheet with foil and coat with a non stick spray.

5. With a large spoon smash down each potatoes just a little bit.

6.  Top your potatoes with butter, shredded cheese, a few sprinkles of crispy bacon and pepper. Place them in the oven for 5 to 7 minutes. Remove from oven and enjoy as the perfect side.

Try my recipe and come back to tell us all about it!

Stuffed Eggs topped with Crispy Bacon

Had a few ladies coming over last night for a Connect Group and we share responsibilities for snacks each week.  I only have 45 minutes to get this all done... so I'm thinking about what to prepare, other that pouring a bag of my favorite chips into a bowl.  Something that would be appetizing and a surprise to the ladies. Out of know where I remembered how much fun it is to serve Stuffed Eggs at any social event. I like keeping eggs on hand because they are great to use in so many dishes likes soups, salads, quiches, frittatas and so much more.  Did I forget to mention that there were 3 crates of eggs in my fridge begging to be eaten.  Eggs are pretty healthy too! 

There are so many different ways to make these delicious little bites of goodness.  You can make them sweet or savory.... and even add pickles, peppers, olives, sweet relish or top with bacon like I did.  Making stuffed eggs is pretty simple, quick and easy to prepare for your guest.  You can do it ahead of time and store them in your fridge overnight.  It will only take you approximately 30 to 45 minutes to get it all done, depending on how many eggs your stuffing.  The most important thing is making sure you have all the ingredients you'd like to use available, whether sweet or savory.  Most pantries will have Mayonnaise, Mustard, Pickle, Salt and Pepper. Here is what I decided to do and it took me all of about 45 minutes, not to mention that my guest were due to arrive in 45 minutes from the time I started.

Preheat your oven to 400 Degrees....Line a baking sheet with parchment paper and place 8 to 10 strips of thick sliced bacon on top. Once the oven has reached a temperature of 400 degrees, place your bacon sheet on the bottom rack and allow to bake until they look crispy.  This usually takes about 18 to 20 minutes.  Once they are crispy remove the baking sheet from the oven.  Place each bacon strips on a napkin/paper towel to drain off access fat...I used what I had available...a piece of parchment paper.  Don't throw away that delicious bacon fat...Save for later use.

After you put the bacon in the oven start preparing your eggs. Fill a pot with tap water just enough to cover the tops of your eggs...I used 18 eggs ( 1 1/2 Dozen Crate).  Place your eggs one at a time gently into the water.  Boil the eggs on a medium heat for 15 to 18 minutes. Afterwards, let the eggs sit comfortably inside of there warm bath until your ready to crack and peel.


By now you are 20 to 25 minutes into the process of creating very delicious stuffed eggs your guest are going to enjoy.  My guest were due to show up within the next 20 minutes by this time in the process.  Still plenty of time to stuff and plate these yummy healthy bites.  Okay now it's time for you to grab a couple of bowls. One to place your egg whites in and the other to place the yolks.  You'll need to crack and peel each egg.  I like to crack and peel them all at one time.  This will help to save time when it's time to slice each one and separate the whites from the yolks. 

Tip: Save your bacon fat for later.  It can be used when

preparing your favorite veggie, meat or even salad dressing.


The egg yolks should still be pretty warm, which is perfect. In your egg yolk bowl add 1 cup of your favorite Mayonnaise, 1 Tsp of a spicy brown mustard (Whatever is your favorite mustard is fine.), 1/2 Tsp of Kosher Salt, 1/2 Tsp of Fresh Cracked Black Pepper and 1/2 Tsp of Red Pepper Flakes.  You can blend all of the ingredients together by hand or with a hand mixer....I choose to use a hand mixer for a creamer texture. To stuff the egg whites I used a heaping teaspoon of the yolks.  Once you've stuffed each of your egg whites...lay them out of a nice serving platter. Okay by this time my door bell was ringing and the guest were arriving. I'm sure I lost a few minutes in-between by taking pictures for this blog...LOL...So my guest watched me stuff a few more eggs and top them with that crispy bacon. Of course there wasn't anytime before my guest arrive to do the taste test.  Well my guest were more than happy to taste test for me and the verdict was.."Yummy Creamy Delicious and Love the Crispy Bacon on top."  Not bad for a last minute tasty snack :-)

Recipe:

Stuffed Eggs topped with Crispy Bacon

18 Large Eggs

1 Cup of Mayonnaise (Whatever is your favorite)

1 Tsp of Spicy Brown Mustard

1/2 Tsp of Fresh Cracked Black Pepper

1/2 Tsp of Kosher Salt

1/2 Tsp of Red Pepper Flakes


1. Preheat your oven to 400 Degrees.

2. Line a baking sheet with parchment paper and place 8 to 10 strips of thick sliced bacon on top. Bake for 18 to 20 minutes or until crispy. 

3.  Fill a pot with tap water just enough to cover the tops of your eggs. Boil the eggs on a medium heat for 15 to 18 minutes. Afterwards, let the eggs sit comfortably inside of there warm bath until your ready to crack and peel.

4. Add Mayonnaise, Spicy Brown Mustard, Kosher Salt, Fresh Cracked Black Pepper and Red Pepper Flakes to your yolks and blend well together until smooth and creamy. 

5. Stuff each egg white with a heaping teaspoon of the yolk filling. top with crispy bacon and serve on your favorite platter.  I hope your guest will enjoy them as much as mine did :-).

Try my recipe and come back to let us know all about it!

Apple Turnovers

It's a Monday afternoon and I'm hungry for something. Not to mention that my son is home from school today...School Holiday...Hip Hip Hooray...And he has a pretty huge appetite and sweet tooth.  Well I wasn't sure what I was hungry for until I open the fridge and saw some puff pastry just sitting there all alone.  Thought for a minute about what I could do with it that would be truly satisfying to me and my audacious sweet tooth...Hmmm.... I turn around and saw a stack of some delicious apples that are perfectly ripened.  Thinking to myself how happy my puff pastry and apples would be if I could just get them together..Not to mention how happy my tastebuds and tummy would be too :-). Funny thing is that as much as I love to cook and bake with apples and puff pasty, I've never put them together before.   I've added puff pasty to delicious Pot Pies, Cream Cheese Danish and apples to Buttery Pie Crust & Oatmeal, but never together that I can remember.  Well today is the day that my lonely puff pasty will marry my delicious ripened apples.  I thought it would be a great idea to share my personal journey with you and anyone ever facing the same dilemma as me.  It's a very simple and easy recipe and you'll probably have some of these ingredients in your pantry.


First you will need to peel, remove the seeds(core) and cube your favorite apples.

DSC_4098.JPG

Place 3 to 4 tablespoons of butter into a medium heat skillet then add 1/2 cup of sugar, 1 tsp of cinnamon, a pinch of kosher salt and stir until they blend well together....about 2 to 3 minutes. Now it's time to add your apples (I used 3 medium sized apples) and 1 tsp of vanilla to your butter mixture. You'll need to cook the apples until soften, but not mushy...about 5 to 6 minutes.   

Once your apples are done place them on the side to cool down for a few minutes. This will give you time to prepare your puff pastry.  With puff pastry it's important to keep in cool until your ready to use it... So don't take it out of the fridge until your ready to roll it out.  

Flour your rolling pin and countertop to place the puff pastry on top. This will prevent it from sticking to the countertop or your rolling pin.  I measured my puff pastry out to approximately 15 X 15, which was a little to big...You can reduce this size to about 12 X 12. You will want to divide it into 4 squares. I used a pizza cutter to divide it, but you can use a knife.  If your using a knife make sure to flour it first, so it doesn't stick to the puff pastry. 

This would be the perfect time to preheat your oven to 350 Degrees.  You'll bake these amazing apple turnovers for about 20 to 25 minutes.  Depending on your oven settings.  I found out a long time ago that not everybody's oven will bake the same. 

Now for the fun part...Putting your apples into each square of puff pastry and folding your puff pastry over to make a triangle turnover.  Line your baking pan with a piece of parchment paper.  In a small bowl, mix together 1 egg and 1 tbsp of water (egg wash) to glue your puff pastry together before folding.  If you don't want to use egg and water you can just use water.  I like using the egg wash to glue it together and to brush on top for a nice glossy look. You can divide the apples into 4 groups, while they are still in the skillet, and then add to each square of puff pastry.  Brush the egg wash along the edges of your puff pastry...then fold the pastry over to make a triangle.  You can use the end of a fork to seal edges together. Brush the top with the egg wash before baking.  Make a couple of slates or cuts into the top of the pasty to allow it to breathe and not smother during baking.

Bake your apple turnovers in the oven for approximately 20 to 25 minutes.  I use the middle rack of my oven to bake them. When they turn a light golden brown on top is a good indication that they are done.  Remove and set to cool for a couple of minutes if you can :-).... My son couldn't wait to take one as soon as the pan hit the countertop....and it was the perfect one....You know the one I could have taken a really nice picture of to showcase.  Oh well...Anyone who has a teenager at home knows exactly what I'm talking about.  He even topped it with a caramel sauce and had it with a hot cup of coffee...Yum!  I waited for a couple of minutes and oh my goodness it was so delicious...I had to have another  :-)

Recipe:

Apple Turnover


3 to 4 Medium Apples

1/2 Cup of Sugar

3 to 4 Tablespoons of Butter

1 Teaspoon of Cinnamon

1 Teaspoon of Vanilla

1 Pinch of Kosher Salt

1 Sheet of Puff Pastry

1 Tablespoon of Flour


1.  Peel, remove the seeds(core) and cube your favorite apples.

2. Place 3 to 4 tablespoons of butter into a medium heat skillet then add  1/2 cup of sugar, 1 tsp of cinnamon, a pinch o kosher salt.  Stir until they blend well together....about 2 to 3 minutes.

3. Now it's time to add your apples and vanilla to your butter mixture. You'll need to cook the apples until soften, but not mushy...about 5 to 6 minutes

4. Flour your rolling pin and countertop to place the puff pastry on top.   I measured puff pastry out to approximately 12 X 12, You will want to divide it into 4 squares. I used a pizza cutter to divide it, but you and use a knife.  If your using a knife make sure to flour it first, so it doesn't stick to the puff pastry. 

5. Perfect time to preheat your oven to 350 Degrees.

6. Line your baking pan with a piece of parchment paper.  

7. In a small bowl, mix together 1 egg and 1 tbsp of water (egg wash) to glue your puff pastry together before folding over. Place apples into each square of puff pastry.  Brush the egg wash along the edges of puff pastry and then fold pastry over to make a triangle.  Seal edges together with a fork. Brush the top with the egg wash before baking.  Make a couple of slates or cuts into the top of the pasty to allow it to breathe.

8. Place your apple turnover into the oven and bake about 20 to 25 minutes depending on your oven. When they turn a light golden brown on top is a good indication that they are done. 

9. Remove from oven and let cool for a couple of minutes....Enjoy!

Try my recipe and come back to tell us all about it!